I have some big plans for his summer garden. We’ll see how it all turns out. For now, I’d love to show you the planters I have and where everything should be going.
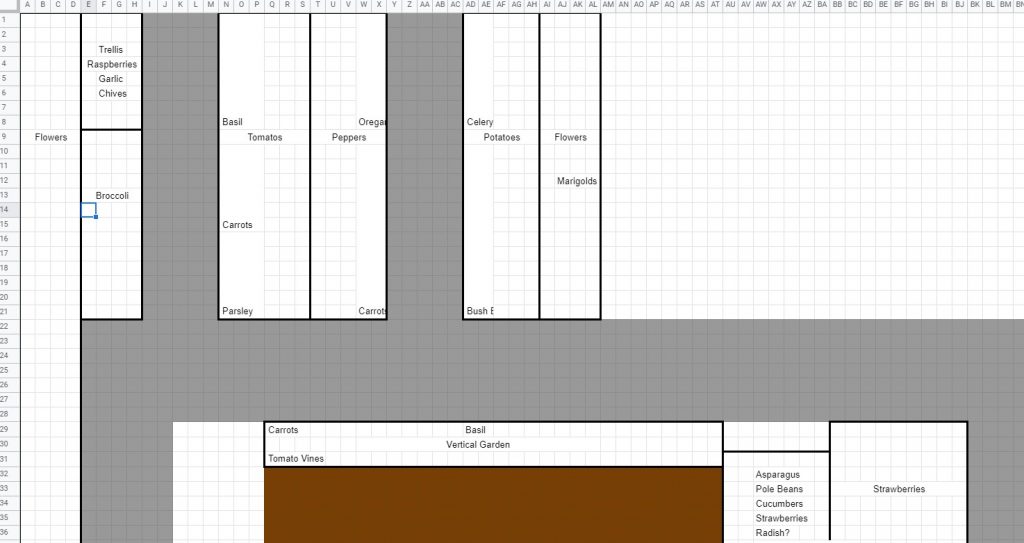
As you can see, I designed my layout in Excel. It is incredibly low tech. However, the process is very iterative. For reference the top of my diagram is actually south. Sorry about that, but it’s out my backdoor, so this makes more visual sense for me.
Everything in this diagram receives full sun. I have some partial shade spots in my yard that I’m still diagraming.
The Process
When designing my garden’s layout, I had to take into account sunlight, space needed, water requirements, companion plants, roots, and whether or not the plant needs a trellis. For example, my tomato plants will create afternoon shade for anything to the east of them. Therefore, everything that needs full sun will be to the west.
Broccoli needs full sun in the Fall and Spring, but during the summer, it gets too hot. Therefore, the tomatoes will actually benefit those.
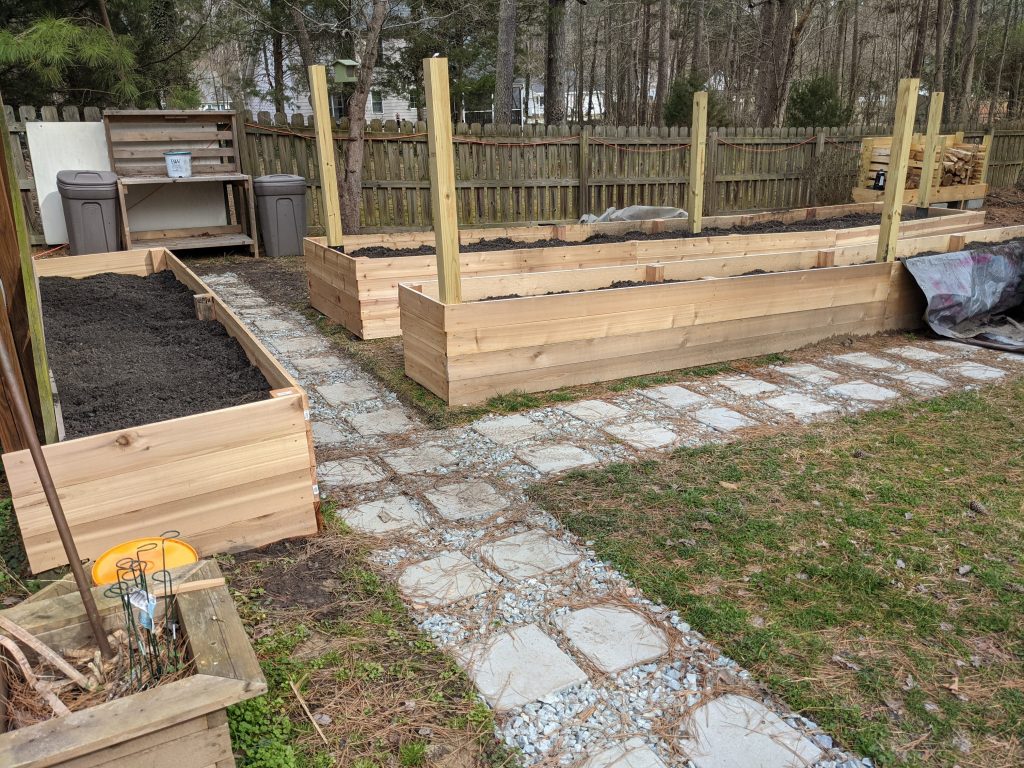
Summer Garden Planters
My planters are made out of cedar with 3 posts driven 2-3 feet into the clay. That will prevent them from moving. If they held any sort of weight or there was a lot of tension against them, I’d have to bury them at least 2 more feet or encase with concrete. Fortunately, all they do, in this case, is prevent the planter from moving. They’ll do quite well at that.
I chose cedar because of its rot and pest resistant properties. By itself, it will prevent many types of bugs from attacking my plants. Additionally, I love the smell and the look of cedar. I could have used plastic, rock, or rust-resistant metals, but I wanted wood. The downside of this is how hard it has been to get cedar lumber lately!
Companion Planting
Companion planting is something that has taken a lot more consideration than other parts of the process.
I’ve relied heavily on West Coast Seeds for their easy to read list of companion plants. However, it isn’t research until I compare with dozens of other sites.
The purpose of companion planting is to create the greatest yields, in the least amount of space, while protecting your plants, soil, and ecosystem. There are so many benefits to companion planting:
- Higher yields
- Recycled nutrients so less fertilizer
- Better pollination
- Pest resistance
- Better flavor
- Looks really cool
One of the most famous companion planting setups is the “three sisters.” This is the planting of squash, corn, and beans together to produce great yields by releasing the correct nutrients into the soil. Beans give off nitrogen, so anything that loves nitrogen loves beans.
Another pretty common companion planting setup is when people plant flowers near their crops to encourage bees and other pollinators to spend their time in the garden.
There is a ton more to say about companion planting. I’ll cover more on that later. What you need to know is that some plants do better when planted near other plants.
My Summer Garden Goals
My summer goals clearly revolve around tomatoes, peppers, and potatoes. I’ve dedicated a lot of my garden to growing these because I’m growing several varieties of each. I made my garden based on things I like to eat. I encourage you to do that same!
I’ve also planted a lot of things because I want to use them for something. For example, due to my allergies, I cannot eat any store bought salsa. Therefore, my wife and I created a salsa that can be made using just things found in our garden. I’m also growing pickling cucumbers because I want to make pickles this year!
Overall, my goal is to learn a lot. This will be my first full summer garden. Last year, I had a few planters on my back deck, and some of those did fine. However, I want to really scale that up and hopefully get a few good vegetables at some point.
This year, I do have some specific goals as well. For example, I want to learn how to do canning, create mint extract, and pickle some cucumbers. If I can accomplish those, I’ll be a happy farmer.
Seed Starters
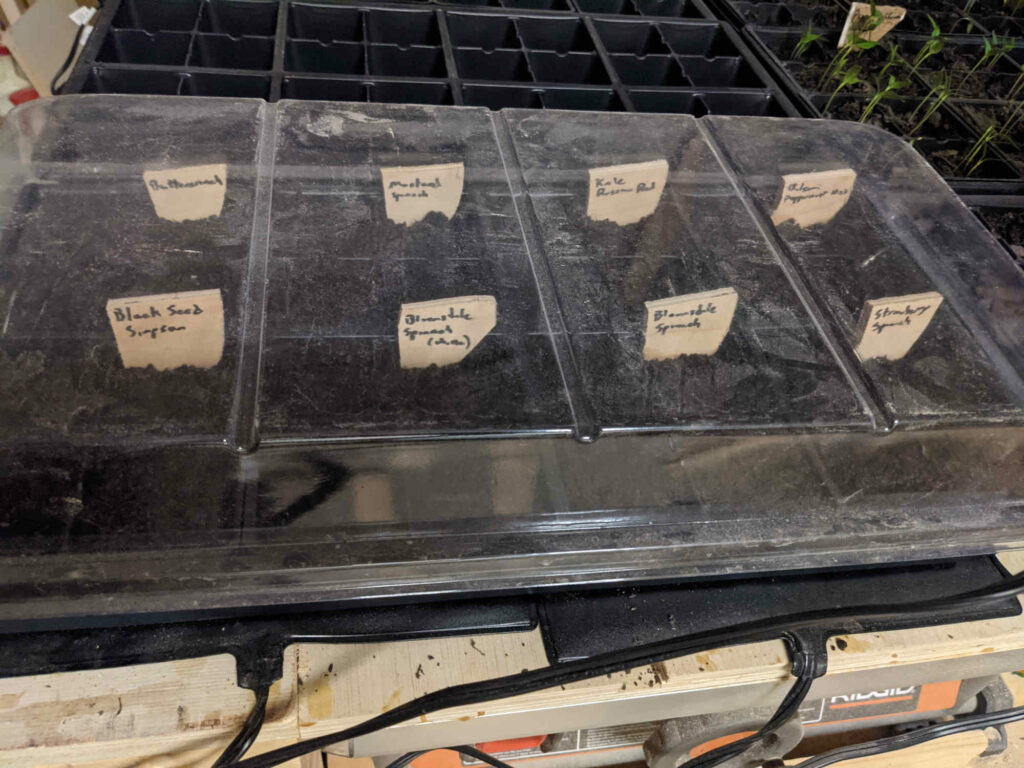
In order to make this all happen, I had to plant certain seeds at the right time. For example, my peppers, broccoli, and basil were all planted towards the end of January. If you haven’t started your peppers yet, you should get on that ASAP!
I also need to give a plug for our cheat sheet. If you’re wondering when certain plants should be planted, definitely check it out. That article outlines the most common vegetable plants and when to start the seeds and when to transplant them into your garden.
If a couple weeks, I’ll be starting my tomato seeds as well.
This Week
Since last week, I’ve done a lot of work on the outdoor garden. (A lot of physical work I should say).
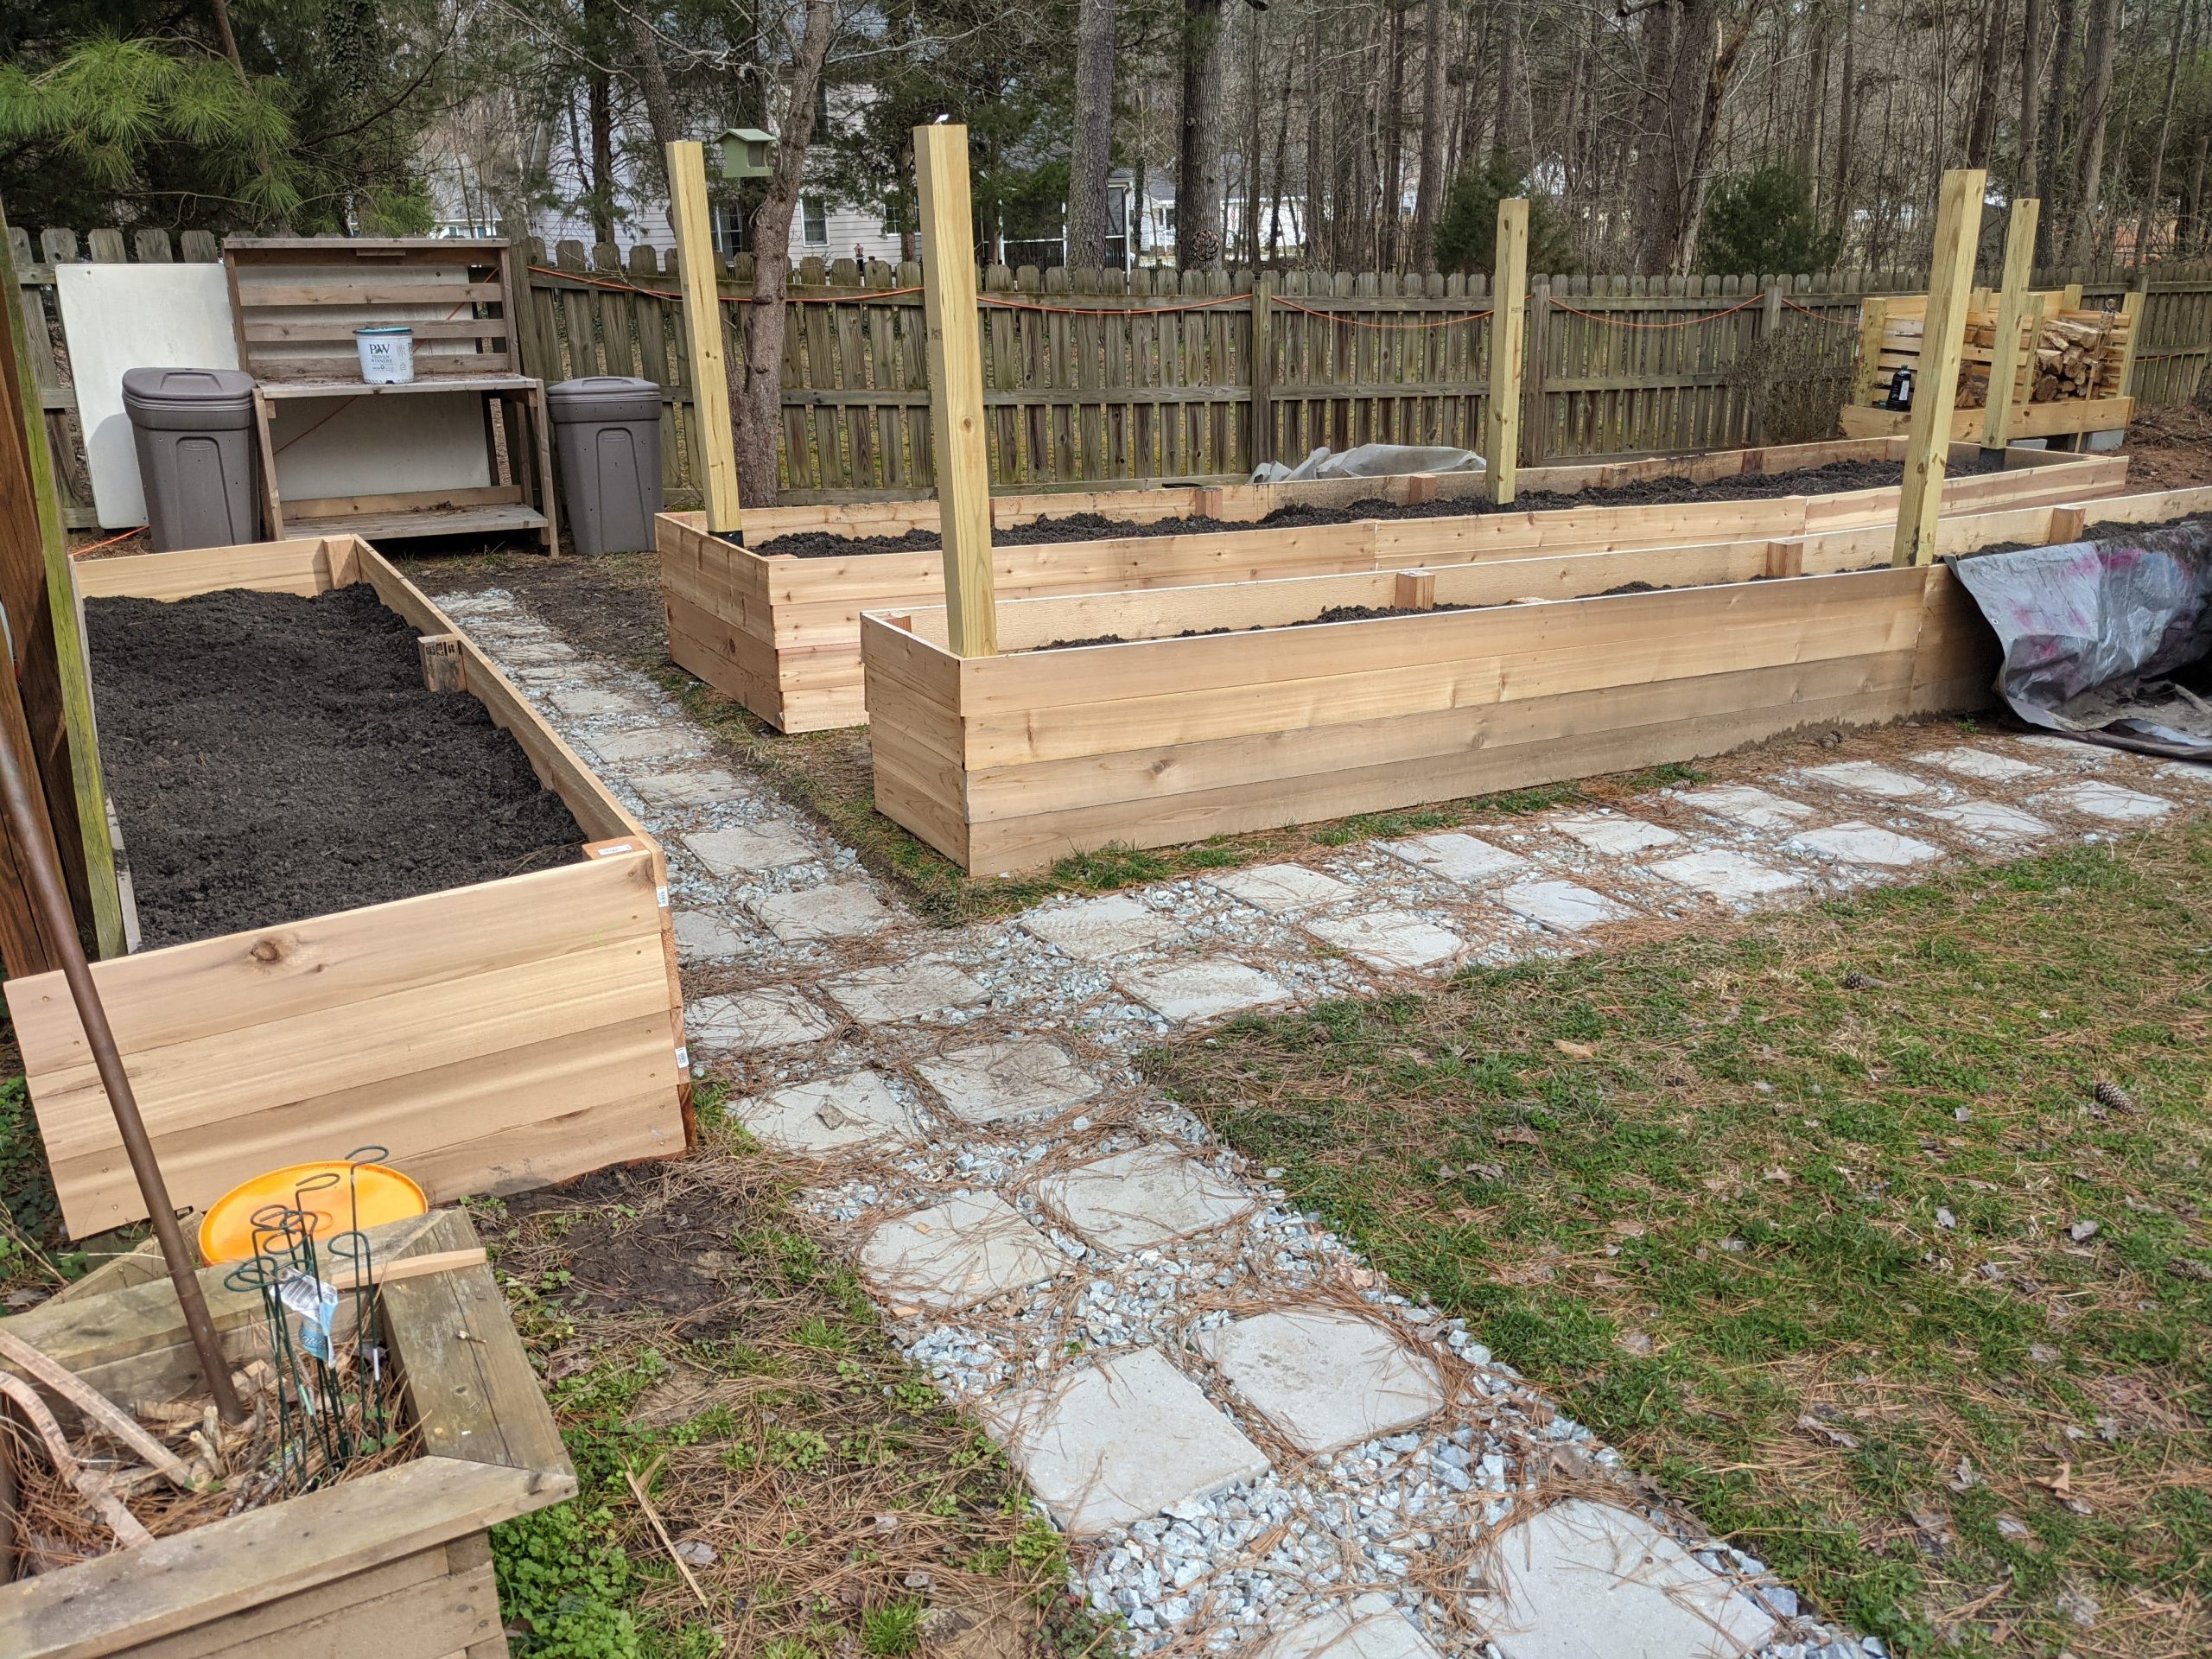
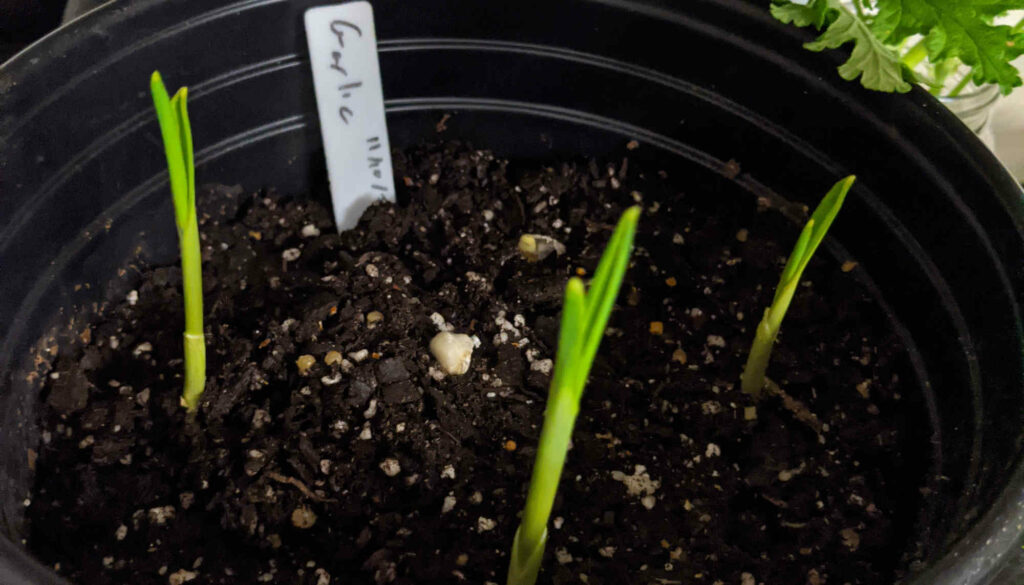
I did end up putting together the second (and largest) planter section in my garden. I also put together the tomato section that is adjacent to the deck. The only section I have left to build in my backyard is the east-most section for broccoli, raspberries, and garlic.
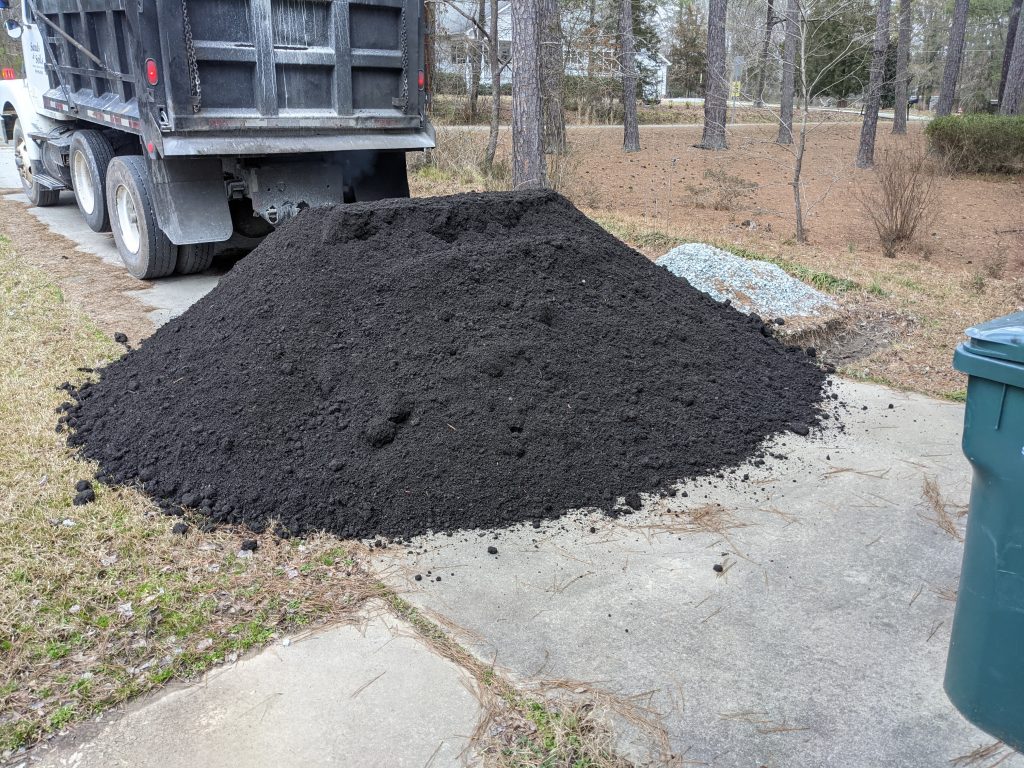
More importantly, I ordered 10 cubic yards of soil and filled my planter beds. It took me 2 days and I only moved about 80% of the soil to fill those 3 planter beds. It was several tons of soil and it was either raining or incredibly muddy during the process. I don’t have pictures or videos of me from it, but I wish I did. Instead, you’ll have to picture it on your own. It helps to imagine what I’d look like if I were chasing a pig through a muddy pigsty.
Tomato Suckers
One of my indoor cherry tomato plants grew a sucker and I had the opportunity to remove that and plant it for an additional tomato plant. Feel free to watch my process video on that.
Garage Storage
I’ve been working on creating more garage storage. A large chunk of this storage will be dedicated to seed starters and seedlings. I’ll be creating a video on lighting installation and drywalling in the upcoming weeks as I get that done. Has to be soon so I have room for my tomato seed starters!
Indoor Green Beans?
In November, I planted green beans without knowing what that would end up looking like. It was an experiment and I was optimistic.
Well, my optimism paid off. I’m getting green beans! As of today, a few of the beans are already 4 inches long and there’s no stopping the new flowers from blooming!
This Next Week
For next week, I’ll be hopefully installing some lighting in my garage, building a couple more planters, and painting some of my garage walls. Stay tuned for exciting progress! This weekend also starts my wife’s Spring Break, so we might try to knock out a lot of house projects.

Garden looks great! I have a question—are you supposed to put anything in the bottom of the planters to drain, like how you’d put rocks in a smaller pot?
Great question! Depends on what you’re growing. For most garden plants and garden soil, no you won’t need rocks in the bottom. Generally when you’re using these large stationary planters, you use the right mix of sand and soil for the plants you’re growing instead of putting rocks in the bottom. Some people do put a bunch of yard waste and vegetable scraps at the bottom, but that is primarily so the plants get nutrients throughout the season.