Memorial Day is right around the corner. For many people, that signals the start of something wonderful: grilling season! Before you put your grill into high gear, a thorough cleaning is necessary. Whether you’ve got a gas or charcoal grill, regular deep cleaning will help keep off-flavors away from your food, and increase the lifespan of your grill! Here are the steps I take for grill cleaning and maintenance.
Tools
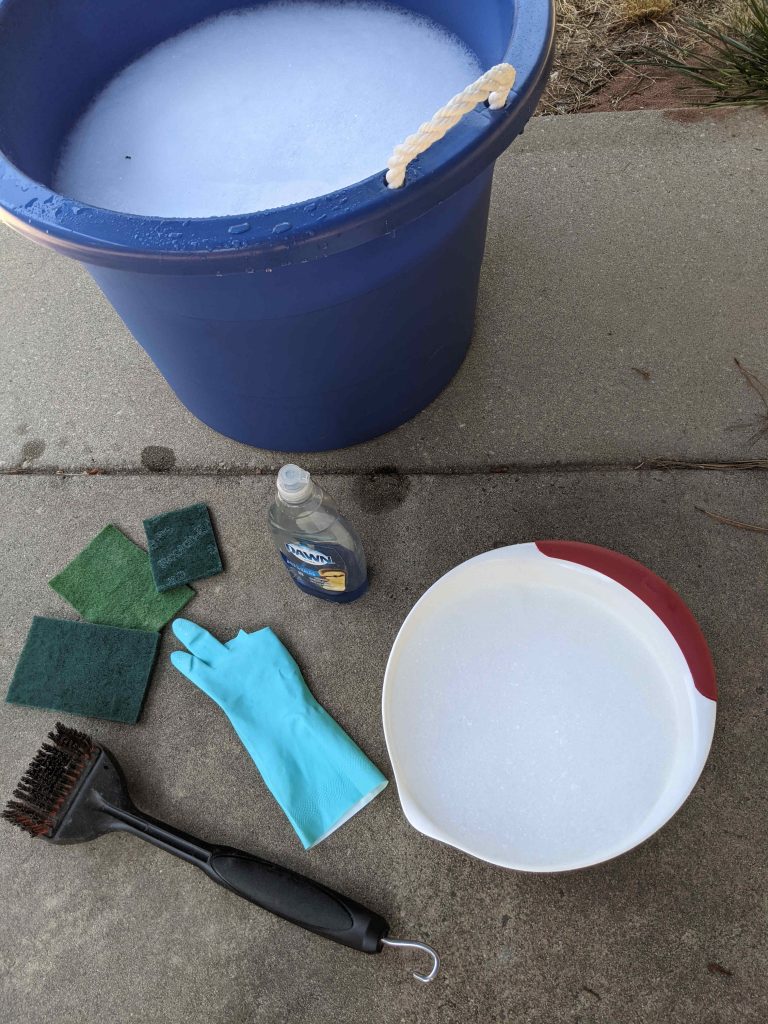
First up, let’s make sure we have all the supplies. I’m usually missing at least one of these, so before I start, I give this list a quick check. I hate getting halfway through, only to realize I need to run to the store.
Stiff bristle brush – I prefer the hard plastic bristles rather than wire. When the wire ones get old, they lose their metal bristles, and you definitely don’t want to find those in your food. The plastic ones can also be brightly colored, so they’re easy to spot. Once it starts to lose its bristles, it’s time to replace the brush.
Dish Soap – Any “tough on grease” dish soap will work. Hot water works best to break down all the gunk. I don’t recommend anything with harsh chemicals (like bleach). Cleaners like that can leave off-flavors in your food.
5-gal bucket – Or other container big enough to soak your grates and removable parts.
Separate container for soapy water – We’ll use this one for our sponges.
Dish gloves – Or not, your call.
Scouring sponges – I typically have 2 or 3 on hand, though I don’t always use them all.
Plastic putty knife – For globs (yes, that’s a technical term) of any major build-up.
Steps
- Now that we’ve got our tool lineup, it’s time to get to work. I like to shoot for an overcast day if possible. Work like this in direct sunlight isn’t fun. Then again, sometimes you can’t avoid it.
- Crank up the heat. Turn your gas grill on high and leave it there for 20 – 30 minutes, grates and all. This will help loosen food particles to make scrubbing easier. Don’t worry about “baking things into the metal,” soaking will help take care of that. It will also kill any mold if you’re unlucky enough to have some growing. This isn’t necessary on charcoal grills (unless, you know, the mold thing), so go ahead and skip to #3 if you’re on charcoal.
- Let your grill cool. Hot metal is no joke. Let your grill cool thoroughly before moving on. I also take this time to prepare a few buckets with soapy water for the next steps.
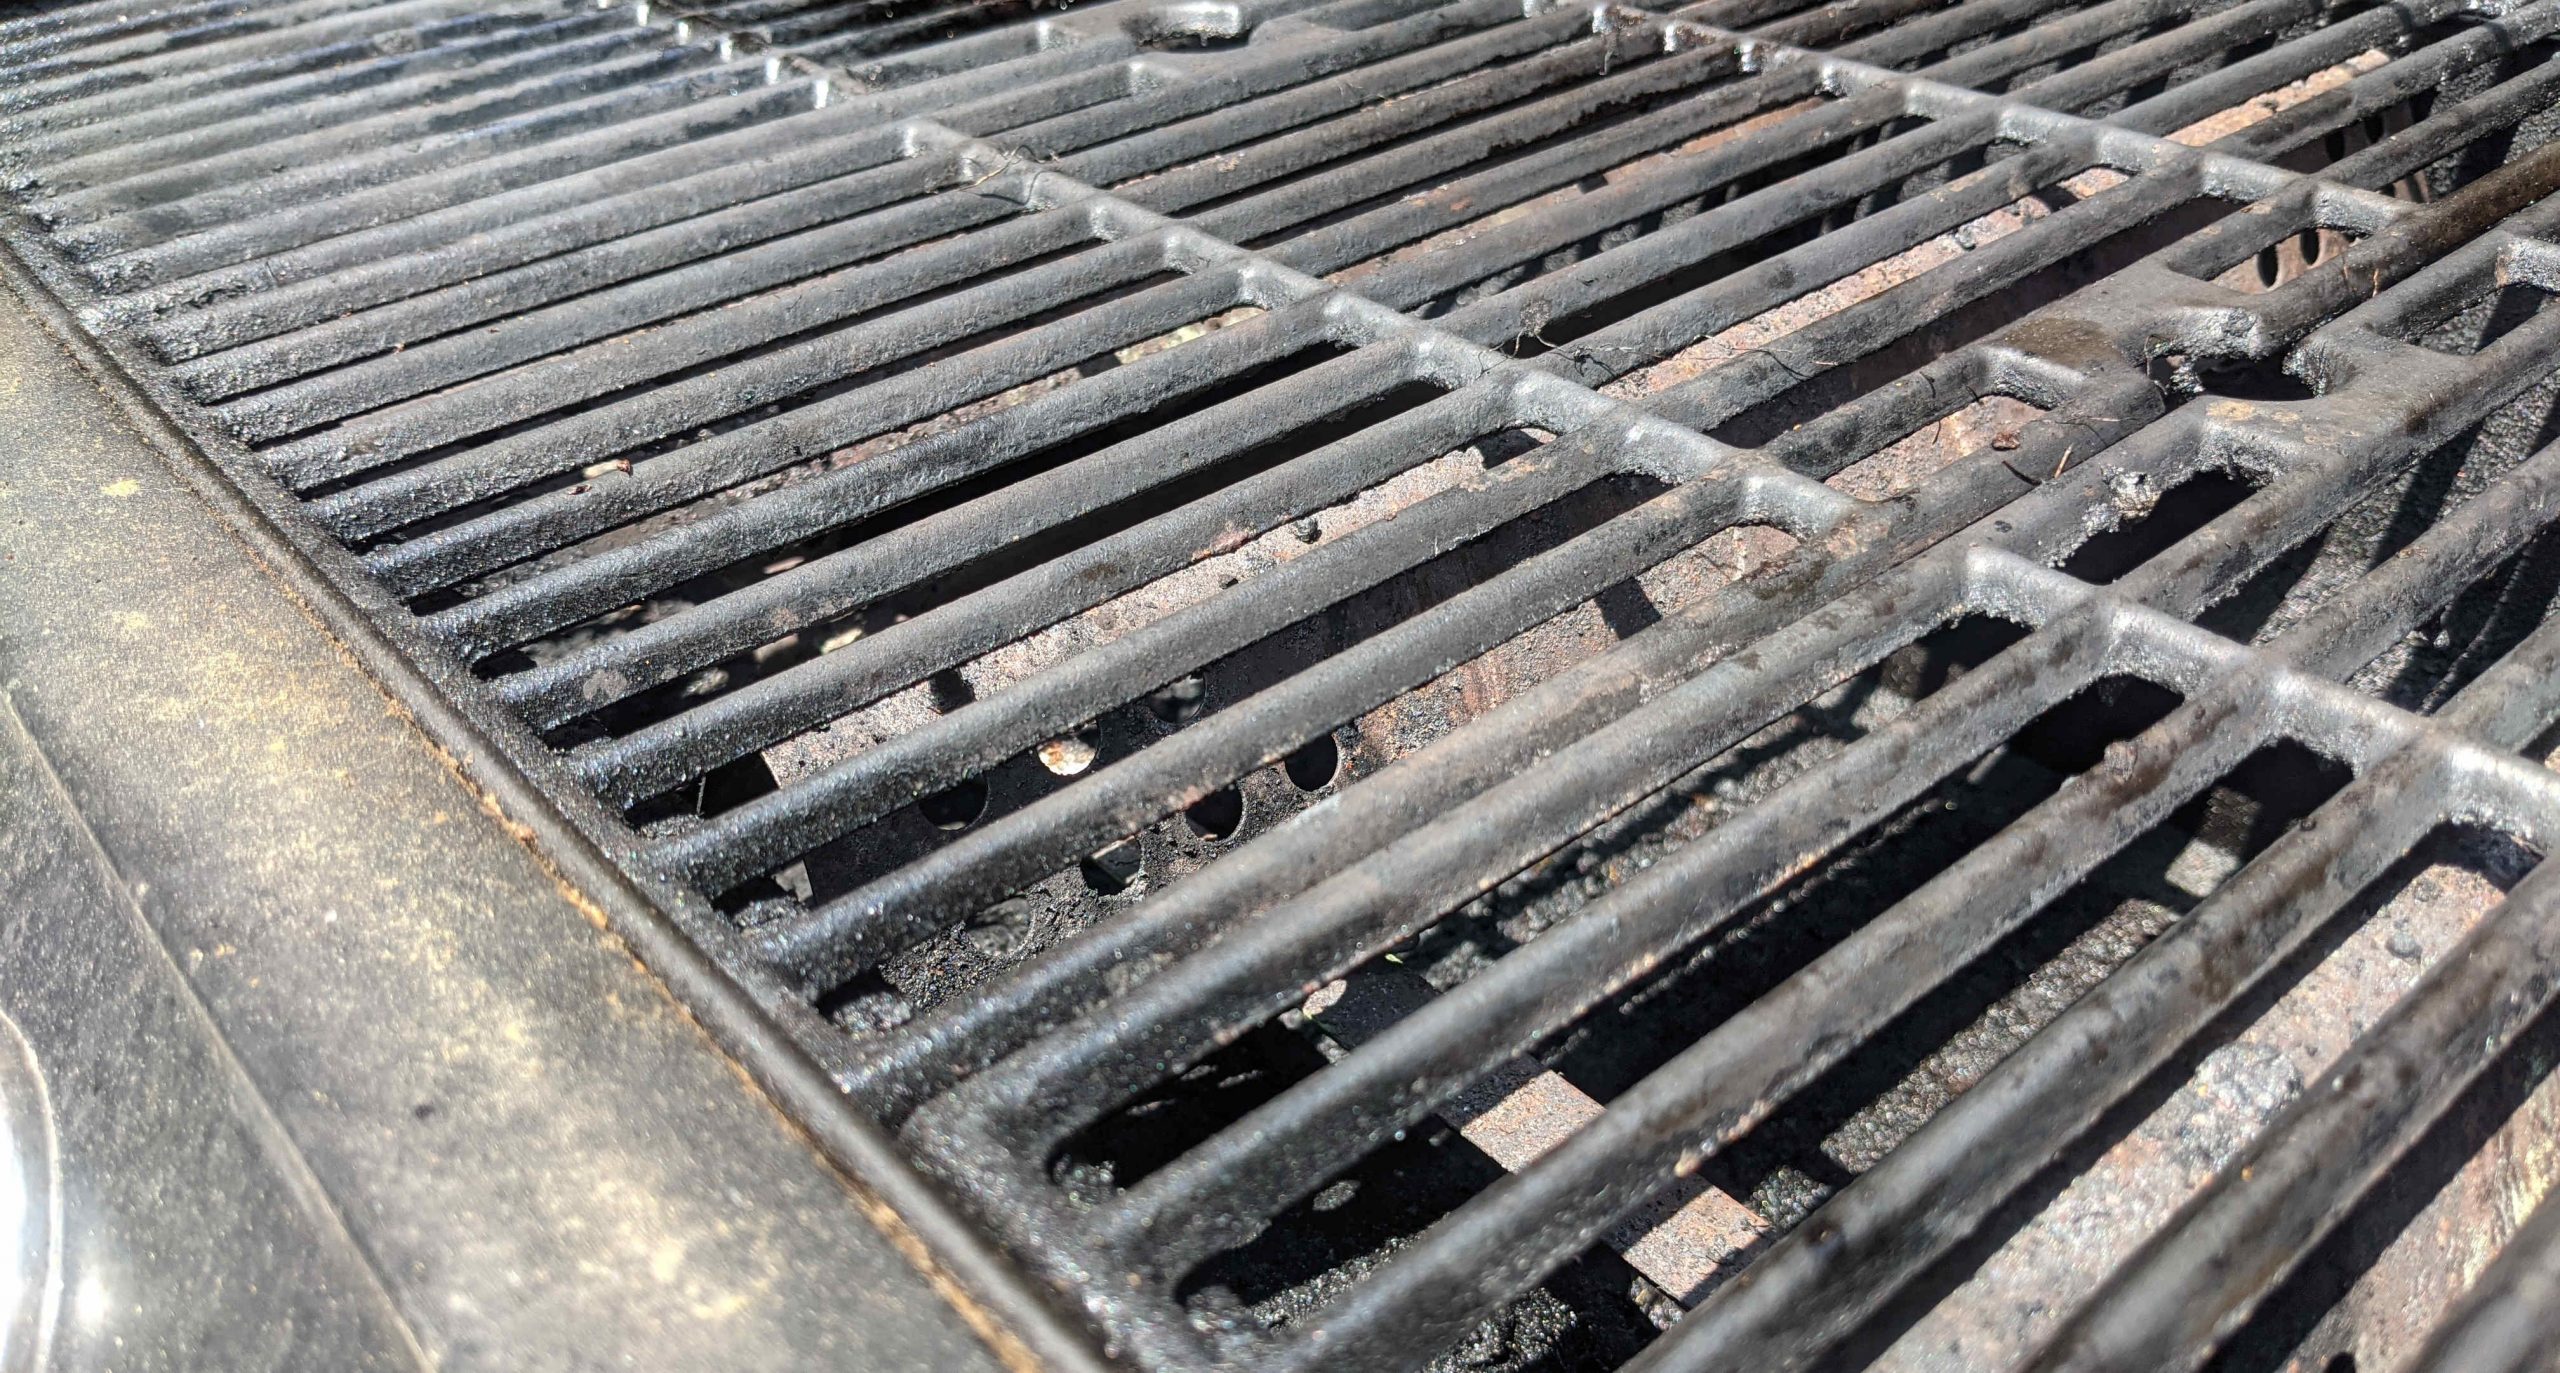
- Soak your gates and other removable parts. Anything that comes out of the grill easily, go ahead and remove it. For your gas grill, don’t forget about the grease tray! Place each one in your bucket or other container and let them soak for at least 30 minutes. Don’t overcrowd your soapy bath – soak parts in batches, or grab another bucket. For charcoal folks, make sure to remove and empty your ash catcher, too. Empty it and either soak it, or scrub it in the next step.
- While the grates soak, clean the inside. This is where we put in elbow grease. Put on those dish gloves if you haven’t already and get to work with your scouring sponges. I typically clean top-to-bottom. That way, I’m not dripping messy water onto an area I just cleaned. With all the removable parts out of the grill, this is your chance to really dig in. Don’t be afraid to take your time. Once you’re done, rinse everything with warm or hot water.
- Scrub the grates. Your grates and removable parts have had enough time in their soapy bath. Take each one out and give them a good scrub. This is the part when I usually need to switch sponges. Between the heat in Step 1 and soaking from Step 3, this shouldn’t be too tough. Again, rinse with warm or hot water and place off to the side. Each part will need to dry completely before you put it back.
- Inspect your moving parts. Now that everything’s clean and dry, it’s a great chance to look at each part. Take note of any wear, tear, bending, or rust. Most grill parts are individually replaceable, so you shouldn’t need to buy a whole new grill. (though it could be a good excuse if you’ve got your eye on one!)
- Reassemble and cover. As you’re inspecting each part, go ahead and put them back in place. I made them two separate steps to emphasize inspecting. In reality, I do these at the same time.
Prevention
When it comes to your grill, an ounce of prevention can save a lot of elbow grease. Here are a few tips to make your grill cleaning easier.
Protect your grill with a cover. Grills are outdoor items, but that doesn’t mean they can be left directly to the elements. If you have a garage or shed nearby, that’s a great place to store your grill once it’s cooled off. If not, cover up your grill after each use. Direct rainfall is a quick path to rust.
Do a 5-minute cleaning drill every time you use your grill. I make this part of my routine. When I get my grill out, I have my brush and a paper towel with some oil. I brush off the grate and give it a once-over with the oil. That helps prevent fats from sticking to the grate. Before I toss on my grill cover, I scrape the grate and shuffle the coals to the catcher. They’re a few quick steps that will make cleaning a lot easier.
How Often You Should Clean Your Grill
Deep clean every 10-15 uses. There are plenty of suggestions for the timing based on seasonality or number of months. If you’re like me, you’ll grill anytime! I’m also using my grill a couple times each week, so my 3 months may look different from yours. I’ve found that a thorough deep clean every 10-15 uses strikes the balance for me.
It also depends on what I’ve been grilling. Hot dogs and chicken? I could go 15 uses or more since they don’t make a mess. If I’ve been smoking a pork shoulder or grilling sugary fruits, I may want to clean after 10.
Taking Care of Your Grill
If most people cared for their grill they way they do their kitchen, this article would be much shorter. However, they’re outside, out-of-mind, and used less often. That means we don’t think about regular cleaning and maintenance (I’m guilty of this, too). With a little effort, that grill can continue giving you, your friends, and family delicious food for years to come.
The bottom line is, the better your take care of your grill, the better it will take care of you (and your food!).
Happy Grilling!


Leave a Reply