With the dog days of Summer just around the corner, it’s now or never to set your lawn on the right track for the Summer. Once your grass has started it’s seasonal growth and you’ve had to mow it a 3 or 4 times, it’s time to prep your grass to be center stage. All it takes is a little planning ahead and a few hours of your weekend. The effort is well worth it…your green lawn will last all Summer!
Mow to Get a Green Lawn
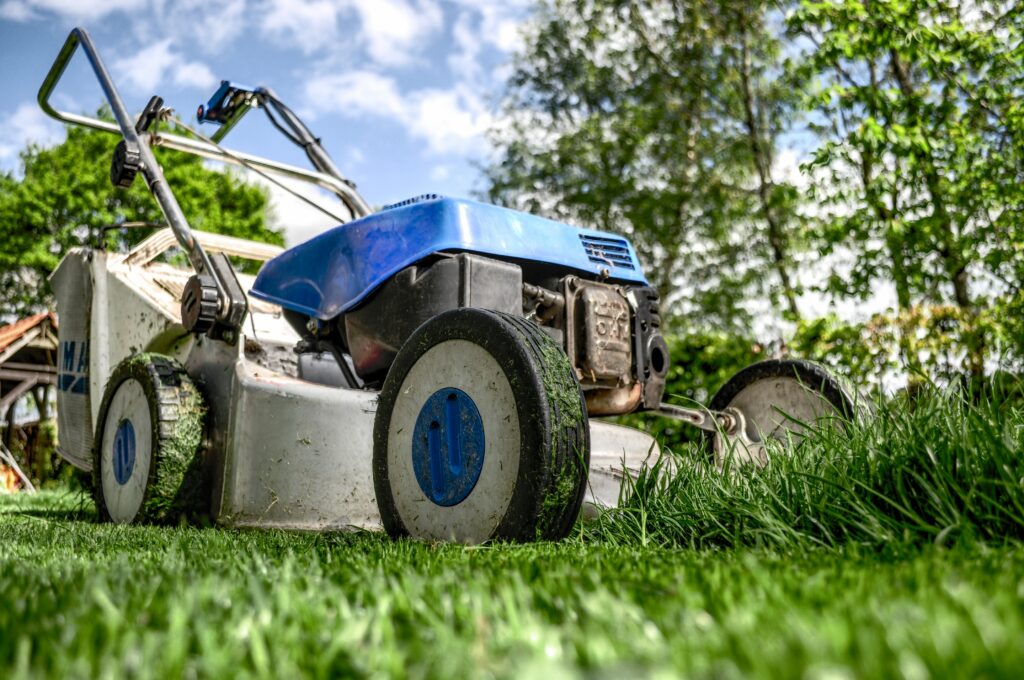
Good News! The first step is probably something you’ve already been doing. Mowing actually gives your grass a fresh start to the season. Don’t mow it too short in the beginning. The taller you allow it to grow, the deeper grass roots tend to grow as well. That helps your lawn absorb all the water and nutrients it can, and sets it up for success during the months to come.
Dethatch
Thatch…what is it? If you’re like me, you haven’t heard of this before you cared for a lawn. Thatch is a layer of dead plant material that sifts its way down to the soil. We need to get rid of it because thatch will prevent new seeds from effectively taking root, and will also suffocate your lawn, which stunts its growth.
There are two ways to dethatch. The first is by hand. You could use a steel rake and put some elbow grease behind it. That will pull up all the dead plant matter, which you can then rake up. Don’t worry, you won’t pull up live grass in the process. It takes a while by hand, but you don’t have to go to the gym!
By far, the easier method is to use a dethatcher (Sponsored Amazon Link: Dethatcher). They’re typically gas-powered machines with a bunch of small tines. They act like a power rake, scraping and pulling thatch up to sit on top of your grass. Once there, it’s easy to rake up and discard. This tends to be more effective than by hand, and you can rent dethatchers at your local home care store.
Aerate
Now with your soil nice and clear, it’s time to aerate. With this step, you’re putting small holes in the ground to help relieve pressure and allow the ground to absorb more water (and fertilizer). This step also roughs up the soil so your seeds will find it easier to take root in the next step.
As with dethatching, you can do this manually, or with a machine. My recommendation here is by machine…yes…even if you dethatched by hand.
The manual aerators come in a few varieties. Some are several spikes at the end of poles allowing you to use your body weight to aerate. Others slip on over boots allowing you to walk (stomp) around to rough up your yard. Either way, it takes a lot more effort and you look silly.
Aerating machines do the work in a fraction of the time, and fortunately for us, many home care stores rent them as well. Depending on your yard size, you’ll probably only need it for the day.
Seed (or Overseed)
This is where the rubber meets the road. Grab enough grass seed to cover the square footage of your lawn. Not sure which grass type to choose? Check out our guide on the best types that grow in our area of NC.
Broadcast spreaders, either manual or wheeled, make quick work of this step. My lawn is fairly small, so I’m comfortable getting dirty and spreading it by hand. Either way, you don’t want to completely cover the ground. Make sure you can see some soil through the seed you place, that helps ensure the seed you do place has room to grow.
Top Dress
Some people say this step is optional, but I found my lawn is much happier if I actually do it. You’ll want to pick up some organic top soil – about a bag for every 100 square feet. You can also order this in bulk if your lawn is fairly sizable.
Loosely spread the top soil over your newly distributed grass seed. The idea here is to help retain water, give the grass some nutrients, and give the new seed a great start with rich soil. I find a rake makes this work fairly easy. Push and shift the top soil around until there’s a light layer over your lawn – no need to completely cover it.
Fertilize
Now it’s time to give that top soil some added nutrients. Depending on the time of year your grass likes to grow, you’ll want different fertilizers. We have a fairly handy article on just that.
Similar to seeding, a broadcast spreader makes this part a breeze. Cover your yard according to the directions on your fertilizer (depending on the nutrient ratio, you could over-do it). It’s an easy step that works wonders for your lawn for months to come.
Water Your Green Lawn
The last piece of the puzzle is to water your lawn. Set your sprinkler out for 30-45 minutes to start dissolving the fertilizer. This will also give your newly planted seeds their first drink of water. Keep on watering each day, 30-45 minutes per day, for about a week. The water and nutrients will encourage fast growth, and you should see small sprouts soon.
Another note on watering, if there are any super hot days on the calendar – like 80-degrees or above – you’ll want to water your lawn. Morning is always the best time to water your lawn. That gives water enough time to soak into the ground without evaporating in the afternoon sun. Never water your lawn in the evening. Excess moisture sits on top and can lead to fungus growth. That can quickly kill all the hard work you’ve put in.
Getting yourself a green lawn is as easy as following these simple steps.
Follow these 7 steps before each growing season, and you’ll have the greenest lawn on the block!



Leave a Reply