Your first day in a new home is exciting, but there’s a checklist of things that needs to happen before you can fully relax. If you like champagne, you can do most of these activities with a champagne flute in your hand.
Obviously, the first thing you should do is celebrate a little. This is an exciting time for you! After that, we’ve got quite a list. However, you shouldn’t worry. There will be more celebrating later! You’re a homeowner!
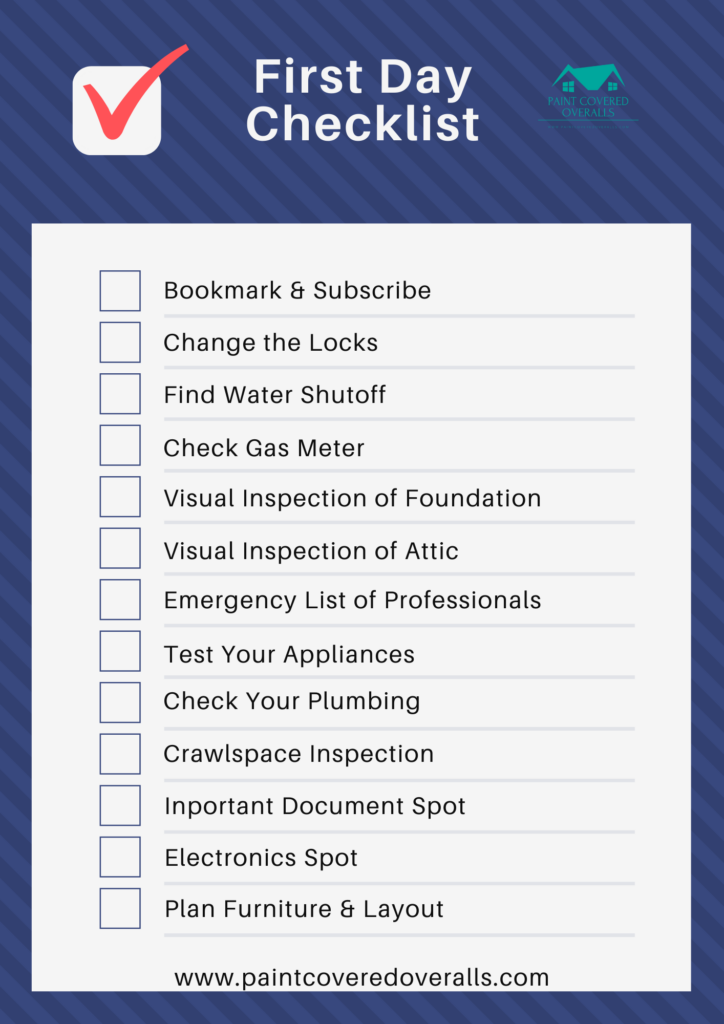
- Bookmark and Subscribe
- Change the Locks
- Find Water Shutoff
- Check Gas Meter
- Visual Inspection of Foundation
- Visual Inspection of Attic
- Make an Emergency List of Local Professionals
- Test Your Appliances
- Check Your Plumbing
- Crawlspace Inspection
- Important Document Spot
- Pick Your Electronics Spot
- Plan Furniture, Art, Layout
- Dryer Vent Inspection
It’s a big list. Fortunately, you should have an inspection report that has a lot of this information. If you got an inspection, check there first. See what information you already have. If you didn’t get an inspection, that’s fine. This process might take a little longer.
Bookmark and Subscribe
It may sound completely self-serving, but you should bookmark our site and subscribe to our Healthy Home Newsletter. Our site contains an ever-growing library of knowledge homeowners could use to keep their house in the best condition possible. If you found this first day checklist helpful, there are lots of other articles just like this! Additionally, our Healthy Home list sends you email reminders when it is time to take care of certain household tasks so you don’t have to try to remember them yourself.
We only make money if you keep coming back, so we aim to make our content as useful as possible. If there’s anything you have questions about, don’t hesitate to ask. We’ll try to get you an answer!
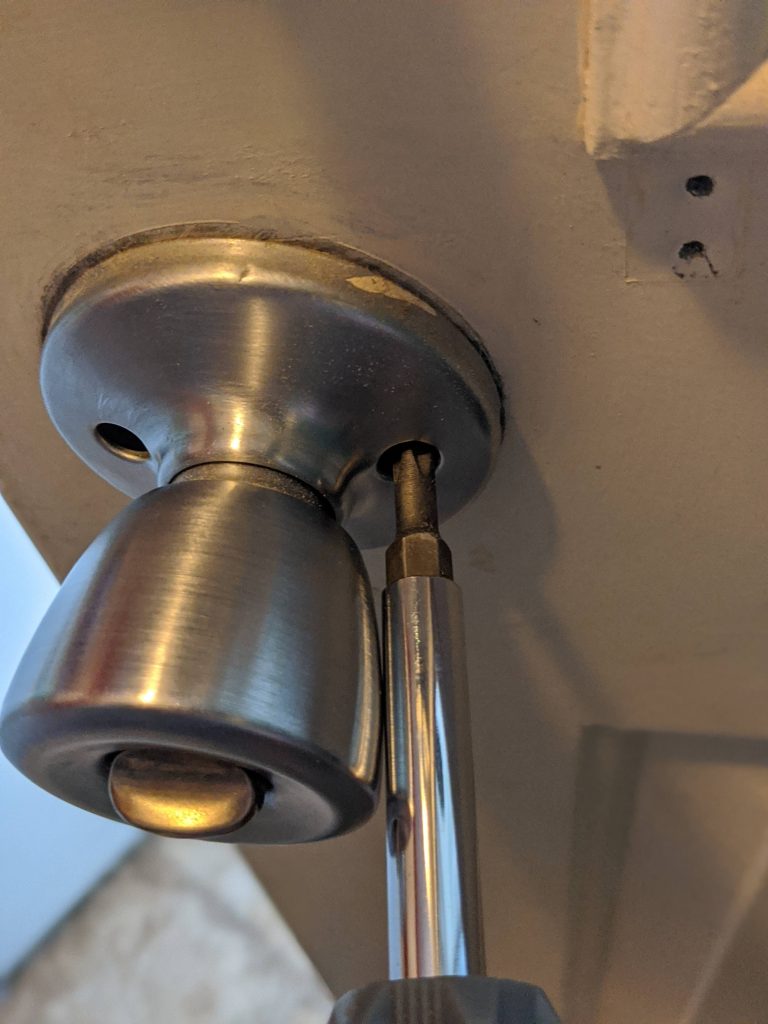
Change the Locks
One of the first things you need to do is change your locks, or at least rekey them. You have no idea how many people had a spare key to the house you bought. Fortunately, changing your locks is one of the easiest tasks you’ll have. You should plan for 10-15 minutes per lock.
Be sure to change your front, back, and side doors. Any door that someone could gain access to needs changing. This is an easy task to start off our first day checklist, but it is also vital.
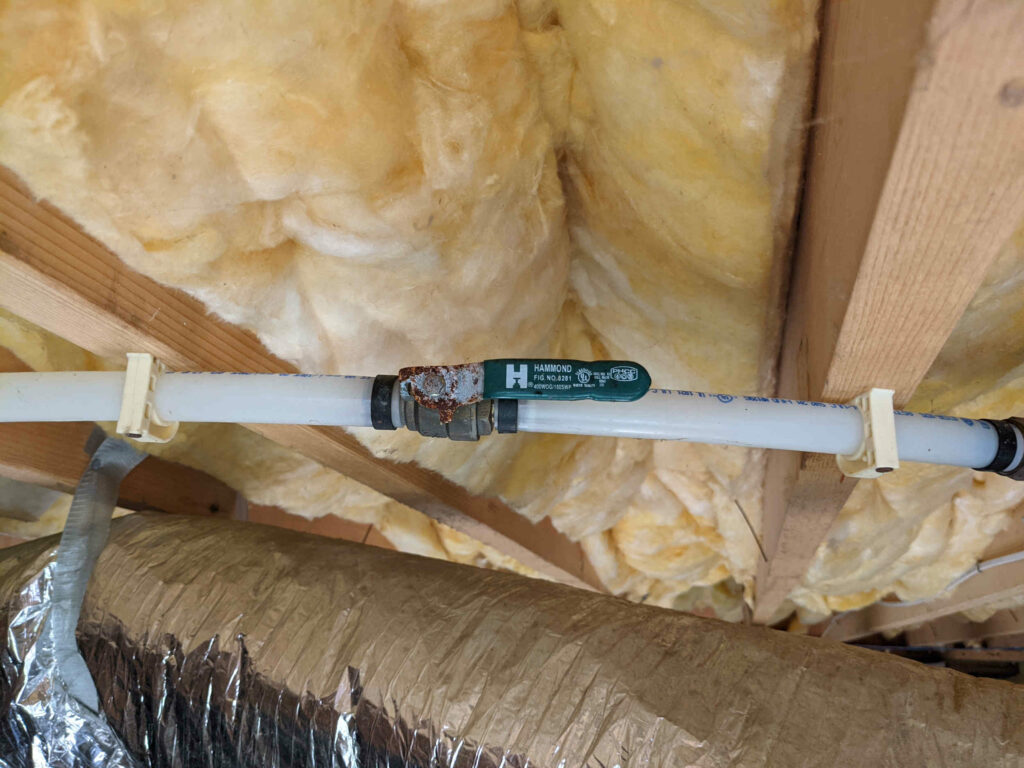
Find Water Shutoff
A flood inside your house can destroy your home. Therefore, the next critical thing we cover in this first day checklist is finding your water shutoff. Fortunately, this information would be in an inspection report.
If you didn’t get an inspection, you might find your water shutoff in your crawlspace, in a closet, or in your garage. Sometimes, you find these in a cabinet as well. Once you find the shutoff, you should also test it. Sometimes, a shutoff only works for part of the house. For example, if your home has an addition, sometimes, they build that addition with its own shutoff.
Keep in mind that every sink and toilet also has their own shutoff. Those aren’t what we’re looking for just yet. We want the master shutoff for the entire house.
If you cannot find it after searching everywhere, you might want to buy one of those water shutoff tools and find the city’s water shutoff by the road. In the worst cases, you can always shut off your water there. However, I sincerely hope you never have to use your master shutoff!
Check Gas Meter
Next, it’s time to check the gas meter. We’re looking for any signs of damage as well as verifying the metering is correct.
When checking for damage, look around for any cracks in the pipes or breakages. Your gas company would want to hear about any of these, so if you find them, give the gas company a call.
Additionally, when you setup your gas account or get your first bill, you’ll see what their initial reading is. You want to make sure that’s what you saw when you first inspected your gas meter.
Finally, you need to find the gas shutoff. This should be right before the gas meter. It’s very important to know where this is. If you ever have a gas leak in your house, turn the gas off, get outside, and call the fire department. Since your shutoff is outside, all of this can be done outside. Get your family out of the house immediately because you can have an explosion at any time.
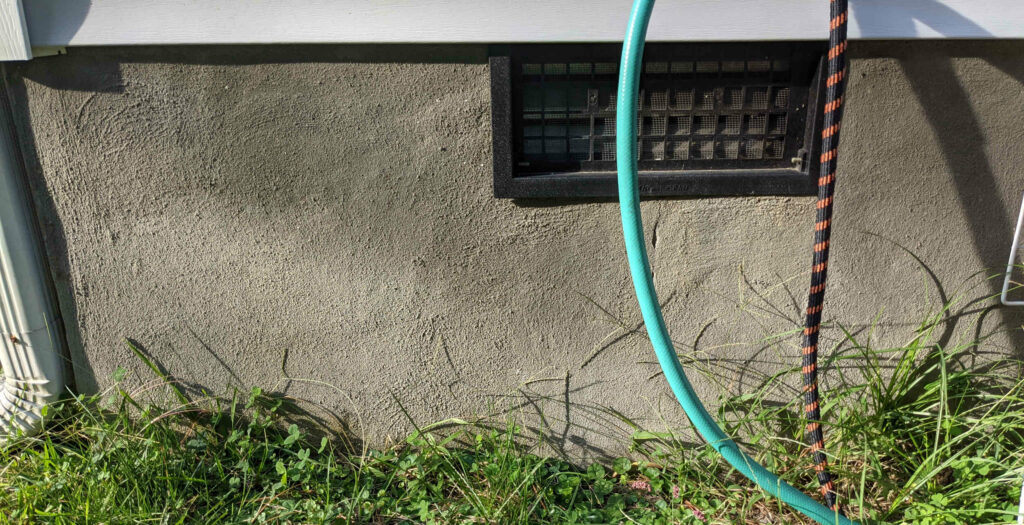
Visual Inspection of Foundation
After that, it’s time to inspect the foundation. You’re looking for cracks, holes, nests, or really anything out of the ordinary.
Cracks and Holes
First, look for cracks in your foundation. Small cracks can be patched fairly cheaply and easily, but they should be patched quickly. They can let water in and as water gets in, it makes the crack worse. Larger cracks need professional help to realign and fix. Sometimes whole sections of your foundation need to be replaced. That’s why it’s important to fix early.
Holes let water, debris, and pests in. It’s important to patch these. Pests and water can do a lot of damage to your home, so keep them away as best you can!
Pests
Second, we’re looking for pests. Specifically, we want to make sure you don’t have termites, carpenter ants, or other wood-destroying bugs. Termites give themselves away with tubes that run up the inside of your concrete foundation. If you see those, treat your entire house and destroy the tubes.
Carpenter ants are a little harder to spot, but they rarely stay within the hidden spaces. Usually, you’ll find lines of them running up or down your foundation as they search for supplies. They also tend to end up inside your house, especially around window sills.
For all these pests, you want to look at your sill plates and trusses to see if there’s any wood that looks rotten or chewed on. If you see any of these signs, you should bring in an exterminator to treat your entire house. There’s no way to know how far into your house pests have made it.
Finally, you also want to check for signs of animal pests. Racoons, squirrels, rodents, dogs, and even bats will gladly live in your crawlspace if you let them. That’s why it’s important to keep it sealed as best as possible.
If you find animals, their waste, or signs of a nest, you need to take care of that before you reseal your crawlspace. Otherwise, they’ll get stuck in there and die. You definitely don’t want that.
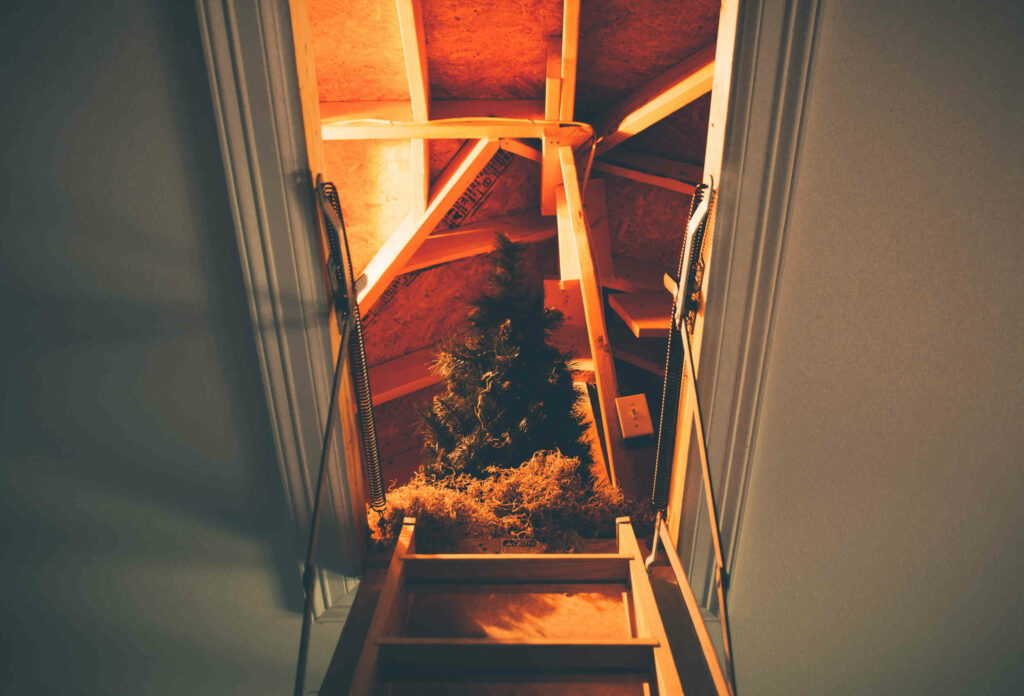
Visual Inspection of Attic
Now we’re moving on to your attic. Here, we’re looking for water damage, storm damage, and pests. Your roof is your first line of defense from the elements, so it’s one you want to keep in pretty good shape. It’s also one of those spots in your house you probably don’t go into a lot, so you actually have to schedule times to inspect. If you catch a small problem early, it’s super easy to fix. However, if you wait until that problem affects the rest of your house, you’re in serious trouble.
Water and Storm Damage
The first thing we’re looking for is signs of any damage to the roof itself. You’re looking for any water staining or mold. Those are signs you have a leak in your roof somewhere. If you can pinpoint where, you can patch that spot or replace those shingles. Wider spread water damage may mean you need a whole new roof.
Pests
Next, you’re looking for pests. Just like in your crawlspace, you’re looking for wood-destroying bugs and wildlife. You’re probably not going to see dogs in your attic, but raccoons, rodents, bats, and birds are all options. If you have any of these, again, you have to get rid of them and then patch however they were getting in. More likely than not, they’re coming in through some vent or soffit.
Insulation
Finally, you need to check your insulation levels. If you have rolled insulation, check to make sure it still has some give and is at least 4 inches thick. If you have spray foam, make sure the foam is undamaged and unbroken. It should be uniform through the spaces it is sprayed.
Most likely, you have that white fluffy insulation in your attic. That’s the most common for unfinished attics now. It’s called loose-fill insulation. This stuff is easy to check. Just make sure that it is 6-8 inches deep. If it is less than that, just add more until it is. Obviously, the more you have, the better insulation you have, but it also makes great nests for rodents and raccoons.
Make an Emergency List of Local Professionals
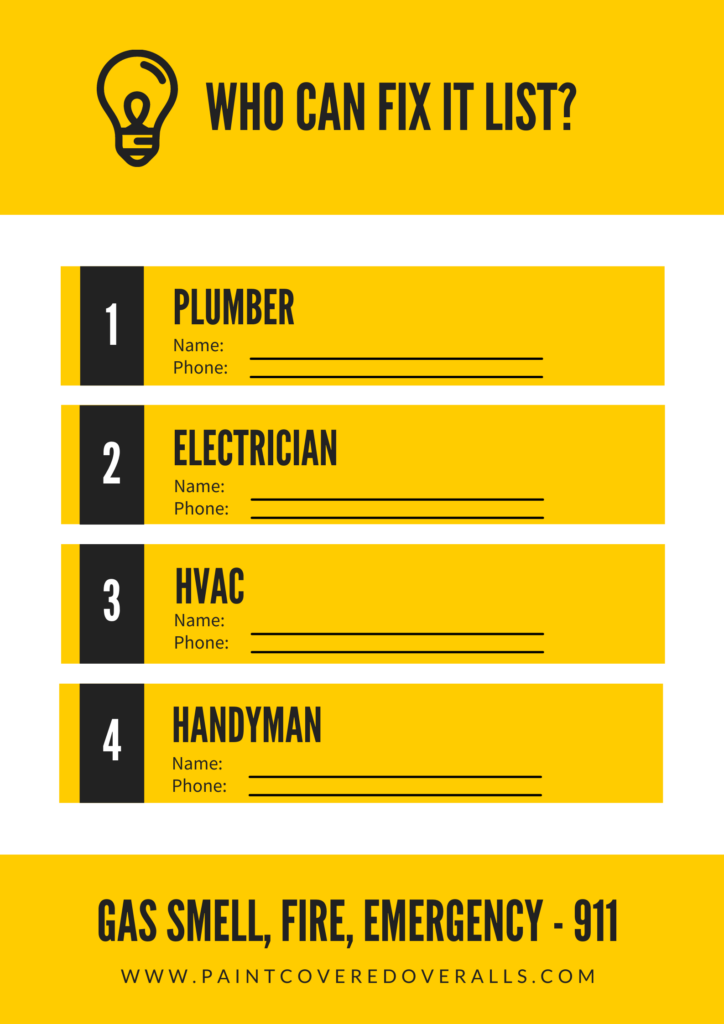
Every home needs a list of easy-to-reach professionals who can handle household emergencies. Just like you’d leave a list of emergency numbers for a babysitter to call, you should leave yourself a list of qualified professionals. If there’s a plumbing, electrical, HVAC, or other emergency, you do not want to waste time searching for someone to save you.
Plumber
I recommend keeping your plumber at the top of your list. Plumbing emergencies can escalate quickly. If you have a plumber you’ve worked with, make sure they also handle emergency plumbing situations. Not all do. Some stick to strictly installation.
Electrician
Electrical emergencies can be frustrating or even dangerous. That’s why it’s important to have an electrician you can call. You should also know where your breaker box is and how to shut off the power to your whole house. It’s not a first day checklist task, but knowing how to test your outlets is important!
HVAC
Next, every house needs a reliable HVAC technician. If your heat goes out in the middle of a cold spell or your AC fails on the hottest day of summer, you want someone who can show up quickly!
Handyman
Finally, a general handyman is useful person to have easy access to. For example, if you notice a crack in your foundation or need someone to fix a burner on your stove, it’s good to have someone you can call on to take care of those quickly. These were actual examples in my own house!
If you don’t have one of these professionals, you can check with your realtor. He or she might have referrals that have worked well in the past.
Test Your Appliances
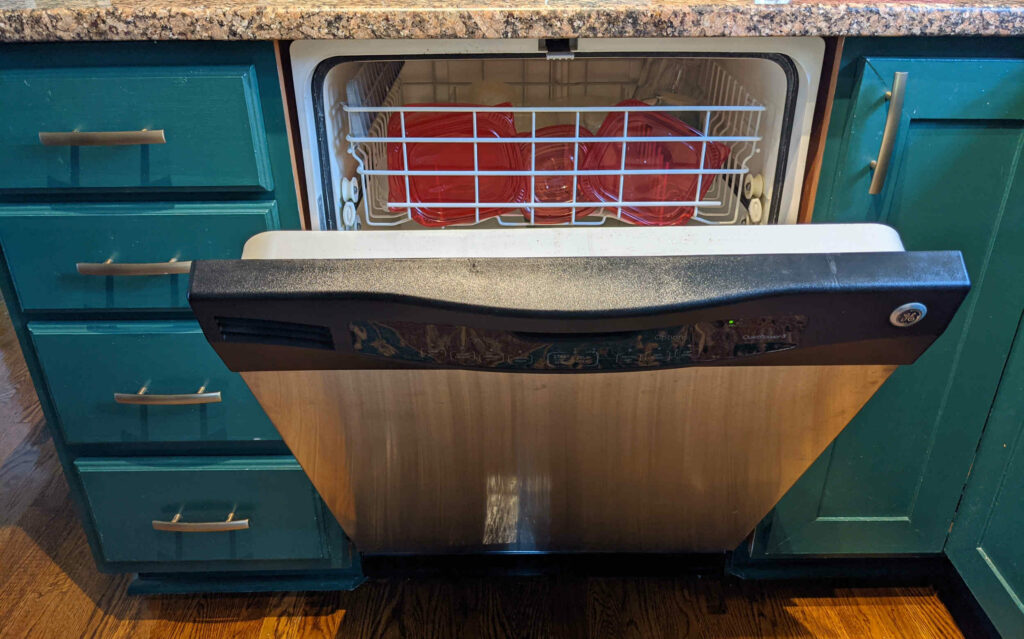
It’s time to test your appliances. I know this first day checklist seems pretty long, but we’ll get through it! To test your appliances, all you have to do is run them as they would normally be used. Run a load in your dishwasher and washing machine. Turn on your oven and each stove burner to make sure they work. Open the fridge to see if it’s cold.
Don’t forget to try the heat and AC just to make sure they work. People often miss checking the fridge water/ice dispensers, garbage disposal, and the heat or AC that isn’t in season. It’s important to try everything. That way, if there is a problem, you can get it fixed before you absolutely need it. Additionally, if the seller promised they were in working order, you might be able to get the seller to pay for it.
Ideally, all the appliances that were included in the house were tested ahead of time, like during an inspection or walkthrough. However, even if they were, you should test them again, just to be sure. This is hopefully the quickest part of the first day checklist.
Check Your Plumbing
Next up, we’re going to test your plumbing. This is pretty easy and somewhat fun.
Sinks
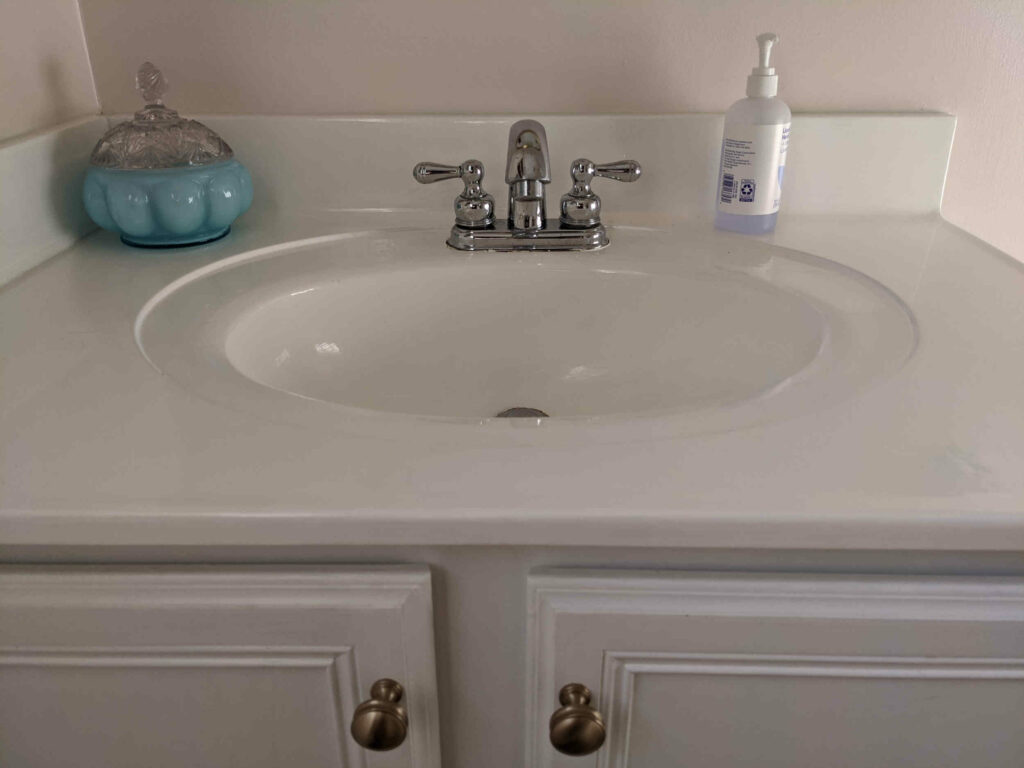
First step, let’s go through the first sinks checklist in your new home. Does water come out? Are the hot and cold handles correct? If your sink has other features like a sprayer, does that work as well?
If the water pressure is lower than the rest of the house, you might have a leak somewhere or a clog in your faucet. You should make note of any discrepancies and move on. We don’t have time during our first day checklist to repair every plumbing issue that comes up.
Every sink has its own shutoff for the hot and the cold water. Make sure you can find these and make sure they work. If they’re too hard to turn, don’t force it too much. A broken shutoff valve is a pretty messy problem. However, if you’re turning it and and water shoots out of the valve itself, you might just need to tighten the screw on the front. See if that works to fix it because that’s a quick fix.
Got a dripping faucet? That might be an easy fix too.
Toilets
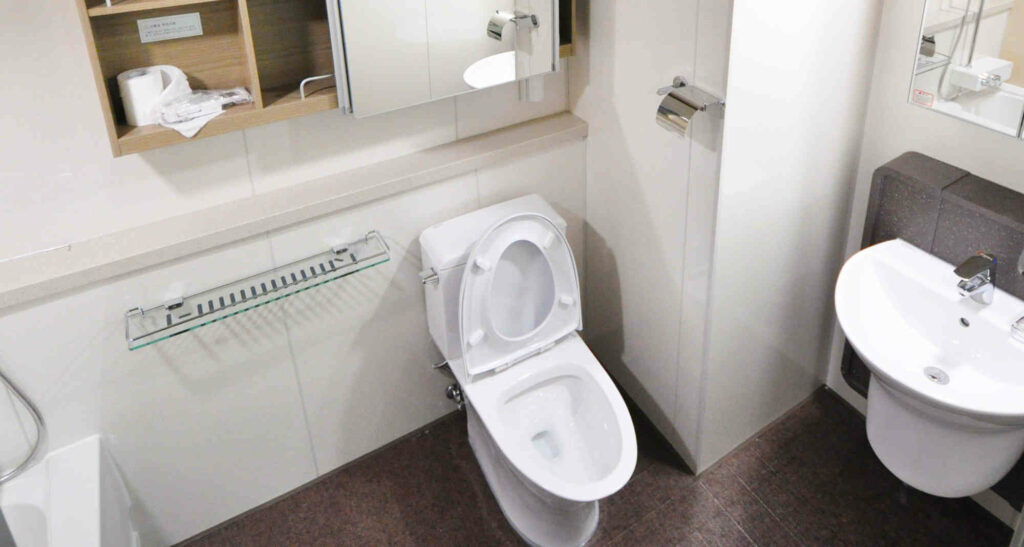
Secondly, it’s time to check your toilets. Before you flush it, make sure there’s no water on the floor around it. That’s a sign you have a leak somewhere. You’d rather fix the leak before making a bigger mess.
If there are no leaks, test it out by flushing it. It should flush all the way and the tank should start filling back up. Next, turn off the shutoff valve and try flushing again. It should flush, but the tank should not fill back up. If all of this is correct, turn the water back on.
You should also take this chance to make sure the seat is secured properly and the bowl is fairly clean inside and out. If the seat or bowl wobble, those are easy fixes. Just tighten the bolts that secure the seat to the bowl or bowl to the ground respectively.
Showers
Showers are quick and easy to test. Do they turn on? Does the water get warm like its supposed to based on your setting? Is the shower curtain, rod, or door in good working order?
You also want to make sure the water pressure is how you want it. You can always swap out shower heads super easily.
Hot Water
When you’re going sink to sink and testing them all out, you should test how long it takes for the hot water to get to that sink. It shouldn’t take more than a minute anywhere in the house. If it does, you might want to talk to a plumber about adjusting that.
If any sink or shower doesn’t get hot water, it is likely that that hot water line is shut off. Once you’re sure it is open, you may have leak somewhere in that hot water line.
However, if none of your sinks or showers get hot water, you hot water heater is likely off. You should go turn that on, wait an hour, and then try again.
Water Test
This would be a good time to test your water. Once you get your results, compare them to Durham’s Water Quality Report. If yours varies from that significantly, you might have issues with your pipes or faucets.
Aerators
I always recommend people replace the aerators in their faucets when they move into a new place. You never know how long it has been since they were replaced. When you take the old one off, use some white vinegar and clean out inside the faucet itself. Just give yourself a cleaner start.
Recaulk
Finally, you should take note of any places near your plumbing that needs to be recaulked and pick a later date to do that. The caulk helps prevent water damage, so it’s a good thing to keep in a good condition.
Crawlspace Inspection
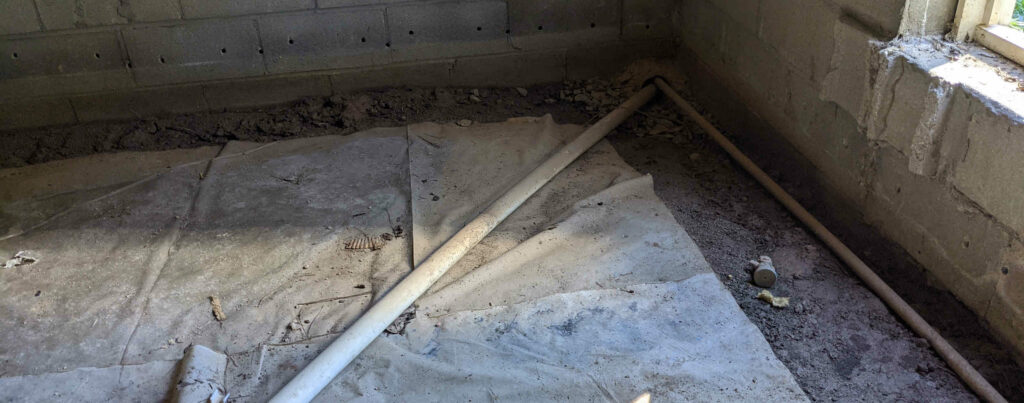
Next on our first day checklist is inspecting the crawlspace. This is my least favorite part and my crawlspace is even tall enough to stand in. Crawlspaces just give me the creeps. The first step of a crawlspace inspection is the foundation wall, but you’ve already checked that. Way to go!
Standing Water
Firstly, check for any standing water. Standing water means you have cracks, leaks, or a bad moisture barrier. Basically everything in your crawlspace is meant to keep moisture out. Therefore, if you have standing water, something is wrong.
If everything else is in order, you might have to get a dehumidifier or pump to keep water from collecting under your house.
Moisture Barrier
The moisture barrier is the plastic sheeting on the floor of your crawlspace. Obviously its purpose is to keep moisture out of your crawlspace so you don’t grow mold or attract pests. If you have small holes or tears, you can repair those with extra sheeting. However, if your barrier looks all torn up or has large missing chunks, you should probably replace the whole thing. No need to do that today, but make a note and get back to it as soon as you can.
Pipes
It’s a good idea to follow every pipe in your crawlspace to make sure they’re not dripping. This should be a pretty quick process of following pipes.
Vents
Next, check to make sure your vents are where they’re supposed to be and that they don’t have any holes in them. If it is a hot and humid time of year, these should be open. If it is cool and dry, they should be closed.
Remove Anything Stored In Your Crawlspace
Finally, you shouldn’t store things under your house. This invites bugs, moisture, mold, and other pests. If anything is stored in your crawlspace, you should remove them.
Important Document Spot
We’re nearing the end of our first day checklist. Fortunately there’s no more crawling through dark spaces on the list!
For our next item, we need to pick a spot where important documents are stored. Things like your deed, insurance policies, and utility information should be kept in a safe place.
I recommend a fireproof, waterproof, safe, but it’s up to you. Some people use a deposit box at a bank. Some just use a specific drawer. It’s up to you, but it’s important to keep them safe. You might also want to scan them in and store them on the cloud somewhere safe.
Pick Your Electronics Spot
This is a weird one, but you should pick an electronics spot. This is where your modem and router will go for your internet. Making this decision on your first day is important because when the internet people show up, they’re going to want to know that answer. Additionally, picking this first helps with the next step.
Plan Furniture, Art, and Layout
My wife did the bulk of the labor in planning where the furniture goes in our house. She bought a couple of huge sheets of paper and made scale models of our first and second floors. Then, she made construction paper scale models of our furniture. Using these, she basically made a paper doll house. It worked super well, but it was labor intensive.
An easier approach that I’ve used before is using masking tape on the floor to mark the outlines of the furniture. We couldn’t use that method because we started laying out furniture 45 days before closing even happened.
I’ve also seen people make cardboard cutouts of their furniture and move those around. It’s all about what works for you. All I can say is that a little planning out ahead of time will save you a lot of stress. No one wants to help you move a couch ten times to find the right spot. No one.
Dryer Vent Inspection
In most cases, you can take 30 seconds to inspect your dryer vent, but those 30 seconds are pretty important. Not only does a proper vent help your dryer work more efficiently, but a clogged vent is a fire hazard. Start by heading outside and looking in the vent. Check the following:
- Is it clogged?
- Does the flap or other closing mechanism work and is it intact?
- When your dryer is on, does air come out?
If you have easy access from the inside, check to see if it is clogged from this end too. Additionally, check all connections to ensure they’re airtight. Finally, make sure your duct or tubing allows for the free flow of air. Any kinks or too many angles will harm its effectiveness.
Celebrate Completing Your First Day Checklist!
The first day checklist is intense. I know that. You’ve experienced it. However, it is worth it. If you’ve accomplished all the things on this list, you’re in a solid footing for moving in. However you celebrate, you deserve it! Congratulations on the house and getting all of these important tasks done.
Your first day shouldn’t just be about completing this first day checklist. How do you plan on enjoying your new home? What comes next for you?


Leave a Reply