I have created a great seed starter setup for my garden in my garage. In this article, I’m going to cover why I built it, the supplies I use, and some of the things I’ve learned along the way.
Why Do I Want a Seed Starter Setup?
The main reason I have a seed starter setup is because I want to save money. A packet of seeds costs a few dollars, but you end up with dozens of plants. Because my garden has hundreds of plants in it each year, this saves me a ton of money. Even if you factor in the cost of all the equipment, I’m still saving money from buying individual mature plants.
For example, two years ago, I primarily focused on my tomatoes and peppers. I spent roughly $20 on seeds and ended up with hundreds of tomato and pepper plants. I ended up selling enough of the spare plants to pay for all the equipment and seeds I bought.
Beyond cost, there’s also something really rewarding about starting your plants from seed and nurturing them throughout their lifecycle.
Containers
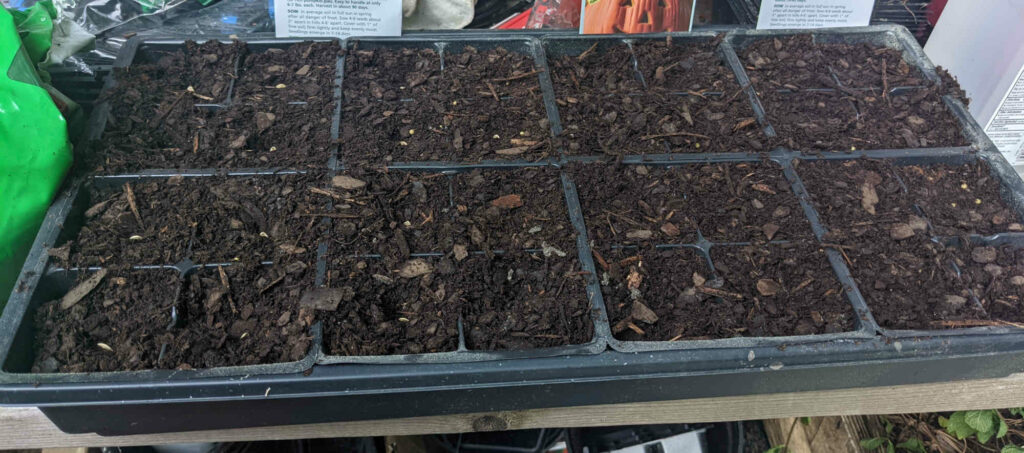
To create a seed starter setup, first you need planters. Generally, you should use the 10×20 pans with individual square inserts. This makes bottom watering and transplanting easier. However, you should use what works best for you. For example, if you’re starting seeds on a ledge in your kitchen, you probably need something more narrow.
Soil
Choice of soil is important for two reasons. Firstly, you want to give your seeds the best chance at germinating and then sustaining the sprouts. A soil without nutrients or one that is too compact or doesn’t hold moisture will not be the best environment for most seeds.
Secondly, you want soil formulated for indoor plants. Soil meant for indoor plants is less likely to have bad things in it. If you take soil directly from your garden, or from a bulk soil source, you’re risking an infestation. You might get fungus, bugs, bacterial diseases, or some combination of them. Let’s stick to indoor potting soil instead.
That said, just because you are using the right soil doesn’t mean you are free from these risks. Using the right soil merely mitigates that risk.
Some people pour boiling water on their soil before they use it. That probably helps some, but I’ve never done it. Don’t use chemical pesticides or fungicides just yet. It’s best to keep as chemical free of an environment as possible for seeds to start from.
Lights
Next up, you need grow lights. Most seeds don’t need light to germinate, but the sprouts will need light for sure. If your house gets a lot of sunlight, you might be able to get by with a sunny window. However, because there’s less sunlight in the winter, and we often have a series of cloudy days, you’re probably going to want grow lights.
There’s a lot of information about grow lights out there, but what you want to know is you need a full-spectrum grow light. From there, you can choose between all different shapes, sizes, and styles. I mostly use LED strips that look like fluorescent lights tubes because of how slim and out of the way they are.
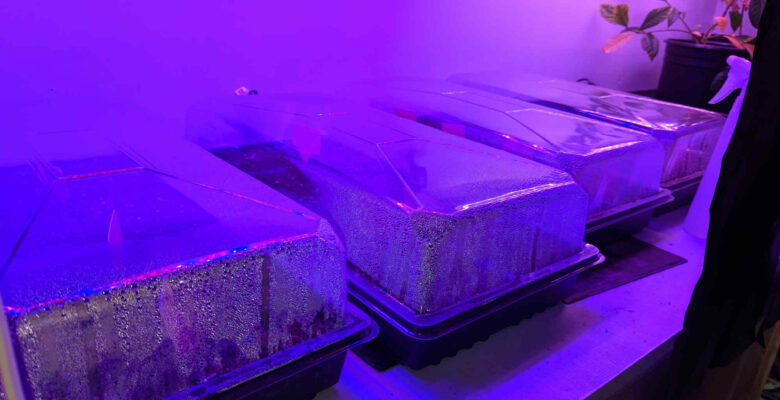
In order to give my seedlings the right amount of light, I have my grow lights on a smart outlet where I’ve programed them to be on 15 hours a day. My grow lights are nowhere near as good as actual sunlight, so I have a series of them together and I give the plants more light than they would outdoors.
Water
Next up, seeds and seedlings need water. Most seeds need to remain moist to germinate, so I recommend bottom watering and keeping the reservoir a quarter full at all times. The soil soaks up the water and keeps moist this way.
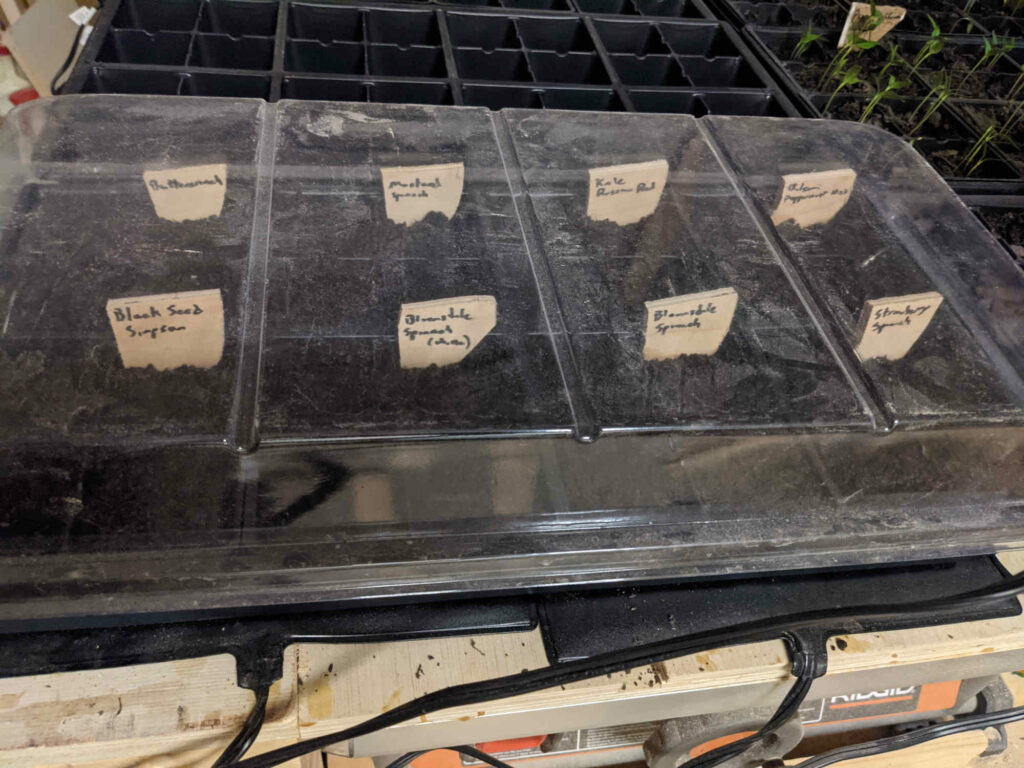
I also keep my 10×20 containers covered to keep as much moisture in until enough of the seeds have germinated.
I’ve also seen people successfully mist their seed starters daily to keep them moist instead of bottom watering. It’s not how I prefer to do it, but it keeps you more engaged and hands on with your plants.
Warming Pads
There’s a wide range of temperatures that seeds need to germinate. For example, peppers need 75-85 degrees whereas broccoli just wants the soil above 55 degrees. All seeds can be too hot, so don’t boil them!
To accommodate all your seeds, you need warming pads. Warming pads usually come with a probe you put in the soil and a thermostat you set to the desired temperature. That way, they warm up to, but not over the temperature you’re looking for.
They also come in convenient 10×20 size to put under your containers. However, if you’re doing something like germinating in a window, you should get a portable thermometer and find a place in your house that is the right temperature and germinate the seeds in a wet paper towel first before planting in dirt.
Warming Lamps
You may not need these as much as I do, but if you’re growing your seedlings in an area that is colder than they like, you will need warming lamps. I do all my germination and seedling growth in my garage, which is not as insulated as the rest of my house. Therefore, I use heat lamps in the section I’ve walled off to keep the growing area at least 70 degrees. These are also attached to a thermostat, so I don’t have to worry about it getting too hot.
With heat lamps, safety is a big concern. For that reason, I use ones that are made for chicken coops and I have them placed where nothing will come in contact with them. They’re ceramic, so there’s already a very low chance of anything catching fire.
Fans
One of the biggest problems with growing your own seedlings is the grow towards the light and aren’t combating the elements. Plants grown outdoors in the sun and wind are sturdier. Plants grown in a setup like mine end up with a longer, leggier, stalk. Fans help with this. If an oscillating fan keeps moving it around, a seedling is forced to grow a stronger stem.
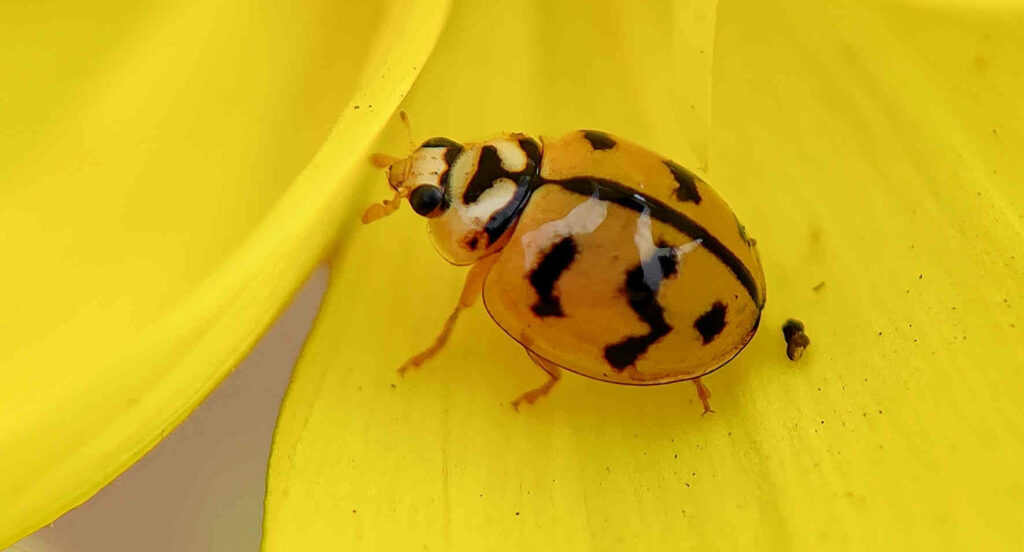
Additionally, fans help prevent bugs from laying eggs in your dirt. Bugs love wet soil, but if they can’t land safely, they won’t be able to lay their eggs. This helps mitigate the risk of a bug infestation. I had one two years ago and invested in fans after that!

Leave a Reply