Installing a ceiling fan is an intermediate level electrical project. It is only slightly harder than installing a light fixture or outlet.
Editor’s Note: Anytime we talk about electricity, we need to tell you that any electrical work on your house is dangerous. What follows in this article is for educational purposes only. Reading our articles will not make you a professional electrician. If you harm yourself doing electrical work, you should seek the medical services necessary.
Tools Needed
- Phillips Head Screwdriver
- Voltage Tester (Sponsored Link: https://amzn.to/31cnPuI)
Removing the Old Ceiling Fan
Firstly, when doing any electrical work, you need to turn off the power to the circuit the fan is on. You should also test the wires with a voltage tester before you go digging in.
Once you have the power off, you need to remove the old unit including the part that connects the fan to the ceiling.
Installing The Base
Next, you need to install the base. This is the piece that generally connects to the junction box in the ceiling. Typically, this base attaches with two screws directly into the junction box. However, it might need to attach directly to a stud or into the drywall depending on your model.
Connecting Wires
The third step is connecting the wires. This is the step that can mess you up a bit. If everything goes right, you connect like color wires together. Black to black, white to white, and bare copper to bare copper. However, your setup might have more than one live wire, and the ground can be copper, green, or yellow.
Typically, the black wire leads to your lights and a separate blue or red wire leads to your fan. The white wire is your neutral, and should always be connected to the white wire.
Installing the Unit
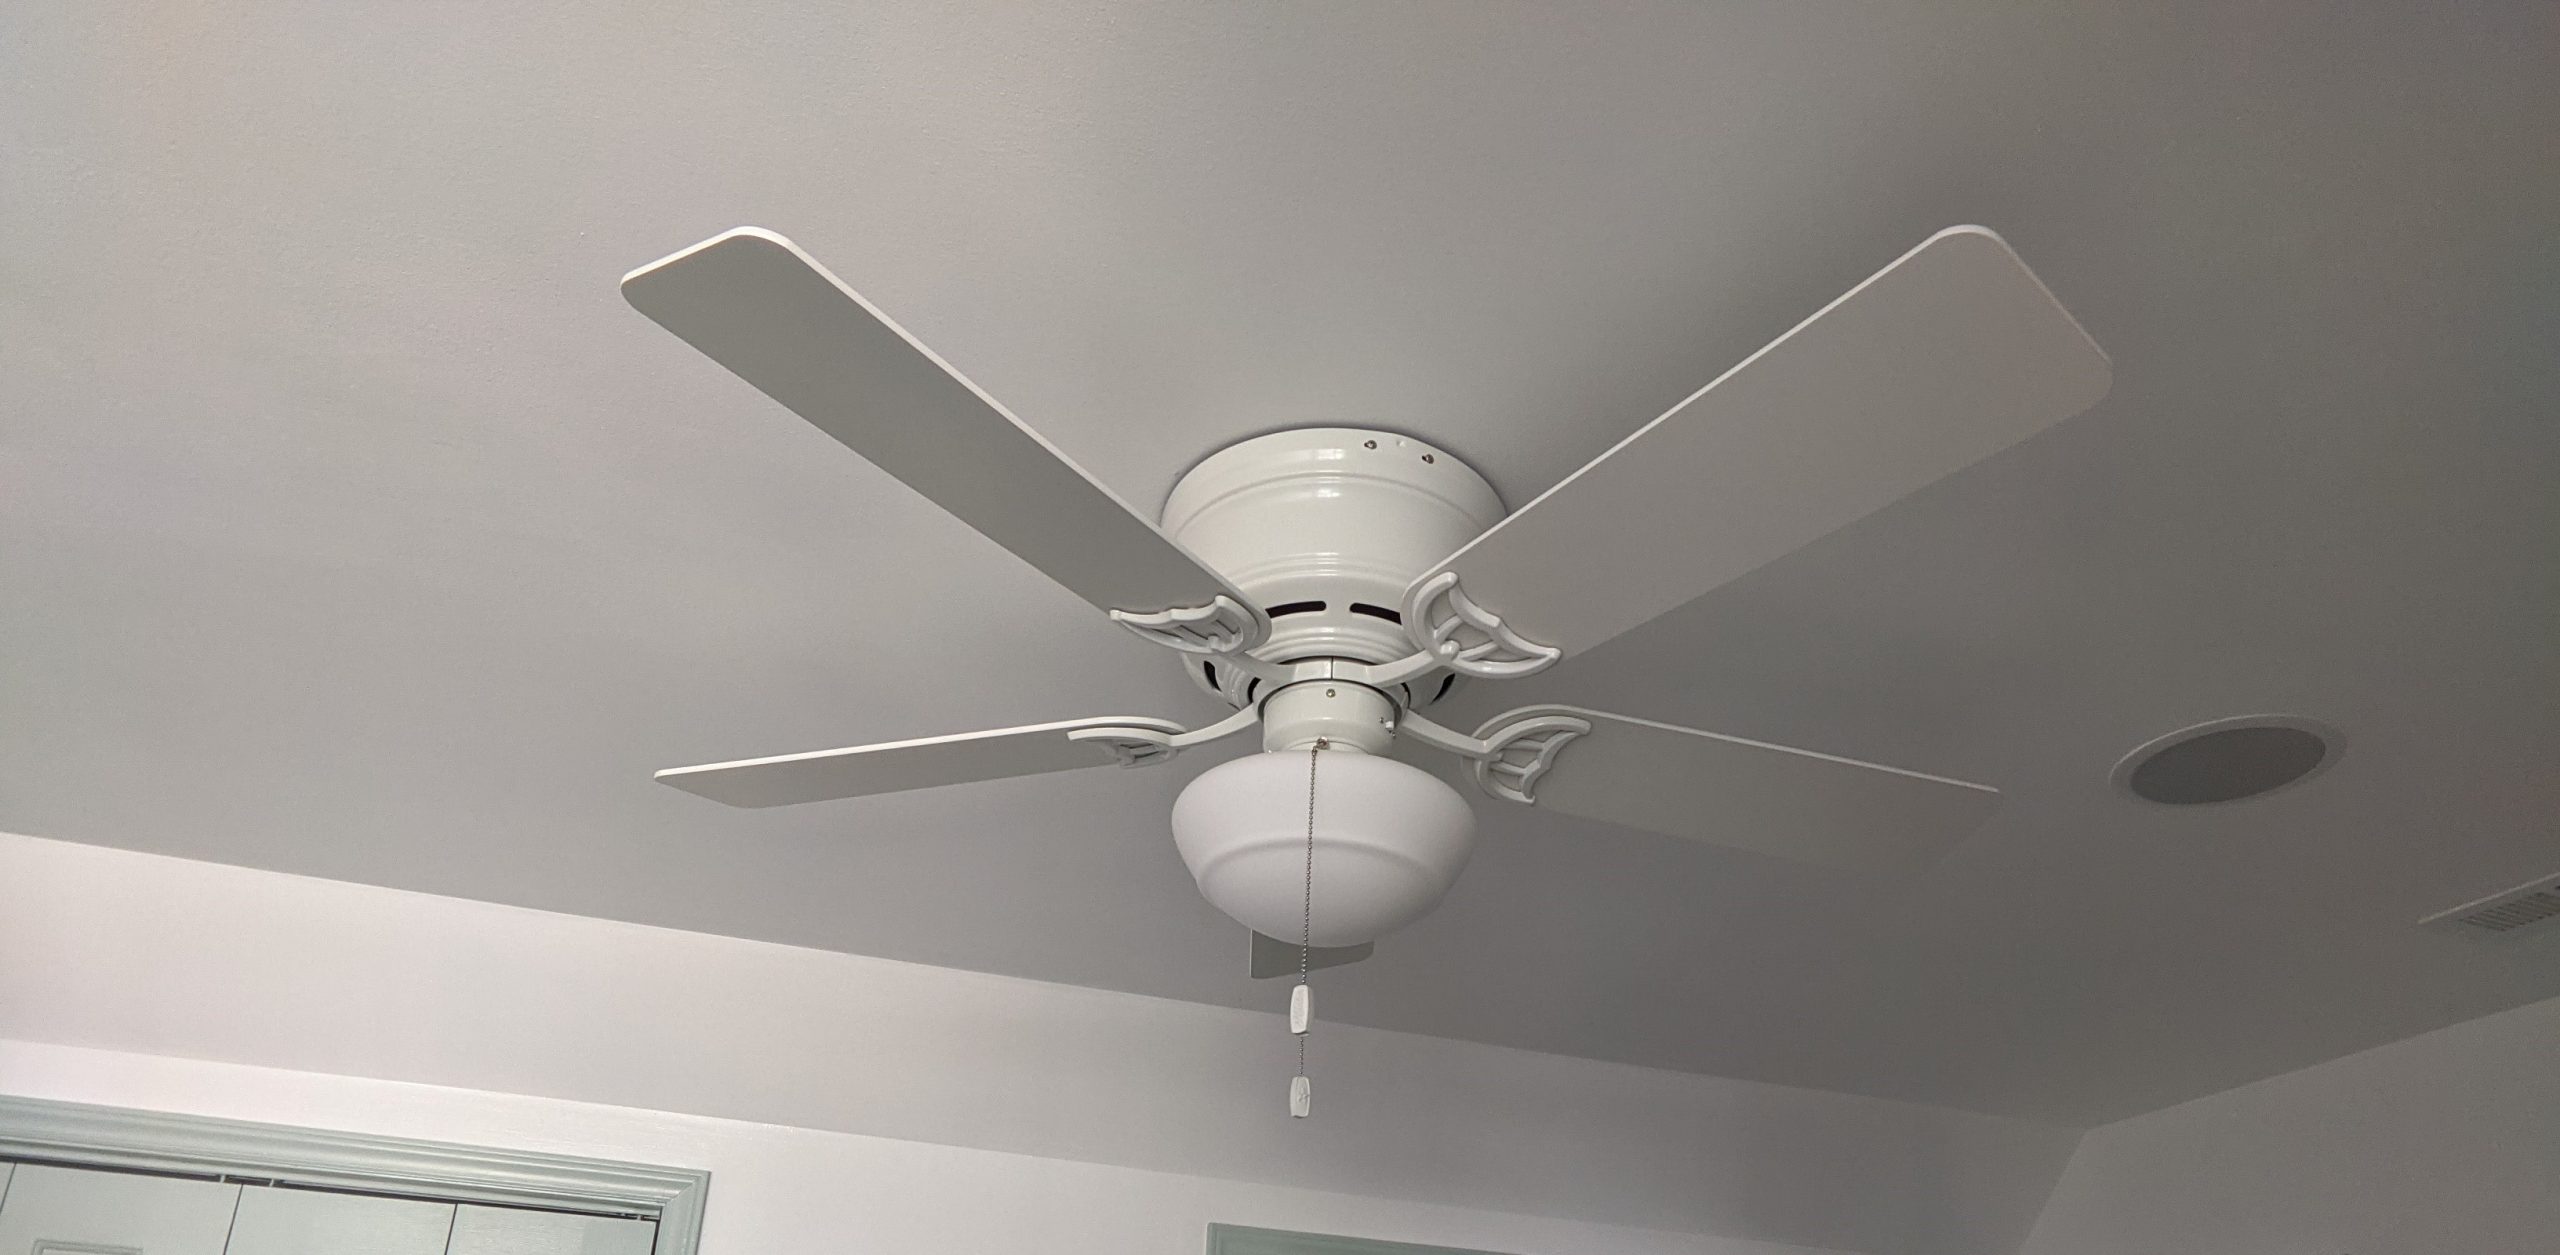
Once you have the wires connected, you can connect the base unit. On this step, each unit is different. For example, a pole mounted unit is suspended on a pole whereas a flush mounted one has the unit more flush to the ceiling.
Each style of unit acts as an intermediate between the base and junction box to the lights and fan blade. It’s actually the main mechanical portion of the fan.
Installing Accessories & Fan Blades
After the unit is installed, you attach the fan blades, and any other accessories like light globes. By this step, it is all easy stuff. Typically the fan blades are held on by a couple of screws.
Test Your Ceiling Fan
Finally, you need to test your work. To do this, I recommend turning the power on while someone monitors your ceiling fan to make sure nothing goes wrong.
Once you flip the electrical circuit back on, have your assistant turn on the light and fan to make sure both work. If the circuit doesn’t trip during the test, you’re in the clear!
One other thing you need to be on the lookout for is an imbalanced fan. You’ll need to balance your fan if it’s too wobbly or shakes.



Leave a Reply