Replacing your air filters is an easy thing to do and it has several positive impacts on your life and home. Any system that recycles the air already in your home will have air filters in the return vents. This includes both central air and heating as well as mini split systems. Some window AC units have filters too, but that’s not as common.
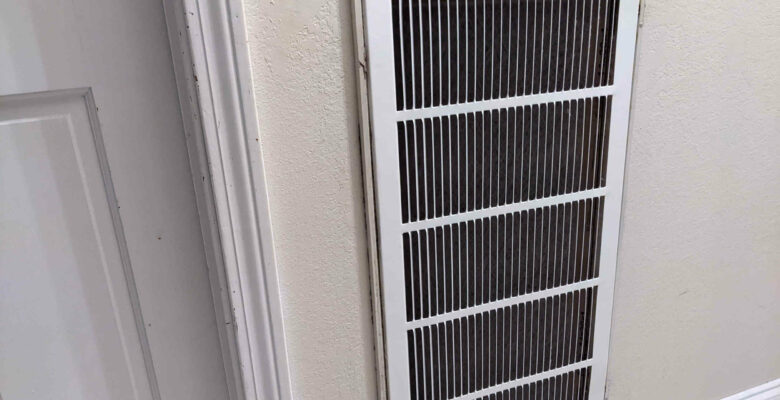
Filters are always located in the return vent. The number of return vents you have varies. Unfortunately, there isn’t a set number of return vents nor a calculation for how many you need. Hopefully whoever initially installed your system knew what they were doing to ensure you have the correct air pressure in your heating and cooling system.
What I do know is that central air and heating will have at least one filter per zone. For example, if you have separate units in your upstairs and downstairs, each zone will have its own filter.
Air Quality
First and foremost, replacing your air filters increases the quality of the air you breath in your home. Because the air is being recycled over and over again, the filter catches a lot of the dust, dander, and other particles in your air. Therefore, the air that comes back out of the vents will be slightly cleaner than the air already in your household.
There are a variety of filters you can buy that take even smaller particulates out of the air. You generally don’t need to invest in these more thorough filters unless you have pet or environmental allergies of some sort.
HVAC Efficiency
HVAC systems run most efficiently when they’re getting enough air flow. Therefore, any buildup on your filter lowers your efficiency by lowering the amount of airflow. However, if your system was properly built, there’s a bit of leeway there.
How To: Replacing Your Air Filters
This is probably the reason you clicked on this article. Replacing your air filters is one of the easiest tasks you have as a homeowner. You should replace your filters every 2-6 months depending on household size, pets, and lifestyle. If you have children, pets, or smokers in your household, you should replace the filter more frequently. Basically anything that worsens your air quality shortens the life of the filter.
In my case, I do a lot of carpentry. Even though my workshop has its own filtration systems, sawdust still finds its way into the house. If I do a lot of sanding, I’m probably going to need to replace the filters earlier.
Step 1: Find out your size.
The first step is finding out the size of your air filter. They’re always listed as length by width (and those measurements are interchangeable). Instead of getting out a tape measure, just look on your old filter. Manufacturers print this on the cardboard part in several spots. Once you have your size, the hard part is done. There are only so many standard sizes to choose from.
Step 2: Buy the filters
I personally prefer to buy the filters in bulk, but it’s up to you. It costs me roughly $5 per filter when I buy the ten pack versus $20 per filter individually. Either way, it’s not a huge expense. If you’re buying the advanced hypoallergenic filters, you’re looking at a much higher price! Some can cost $50-$80 per filter. It’s worth it if it alleviates your allergies, but not worth it for common usage.
You can buy filters at any hardware store, most grocery stores, and at hundreds of online retailers. There’s even online retailers who will set you up on a subscription. For the generic filters, it doesn’t matter where you buy them. Just get what’s cheapest and easiest. All you really need is the length times width.
One thing to look out for is filters with greater depth than your return. Some of the advanced filters are deeper than others. You’re looking for a filter that is under an inch in depth. However, that’s the default. If you’re buying the cheaper ones, you won’t run into one that is too deep.
Step 3: Replacing Your Air Filters
Finally, you need to open up your air return and swap out the filters. The only tricky part here is making sure the arrow on the filter is pointing into your ducts. The arrow signifies which direction the air is flowing. Once you’ve replaced your filter, close up your air return and throw the old filter away. You’ve done it! You’ve replaced your air filter!
When you have your air return open, you can visually inspect your ductwork. However, because it’s the air return, there’s always a filter protecting it from larger debris. In all your ducts, this should be the least likely to need cleaning or repair.


Leave a Reply