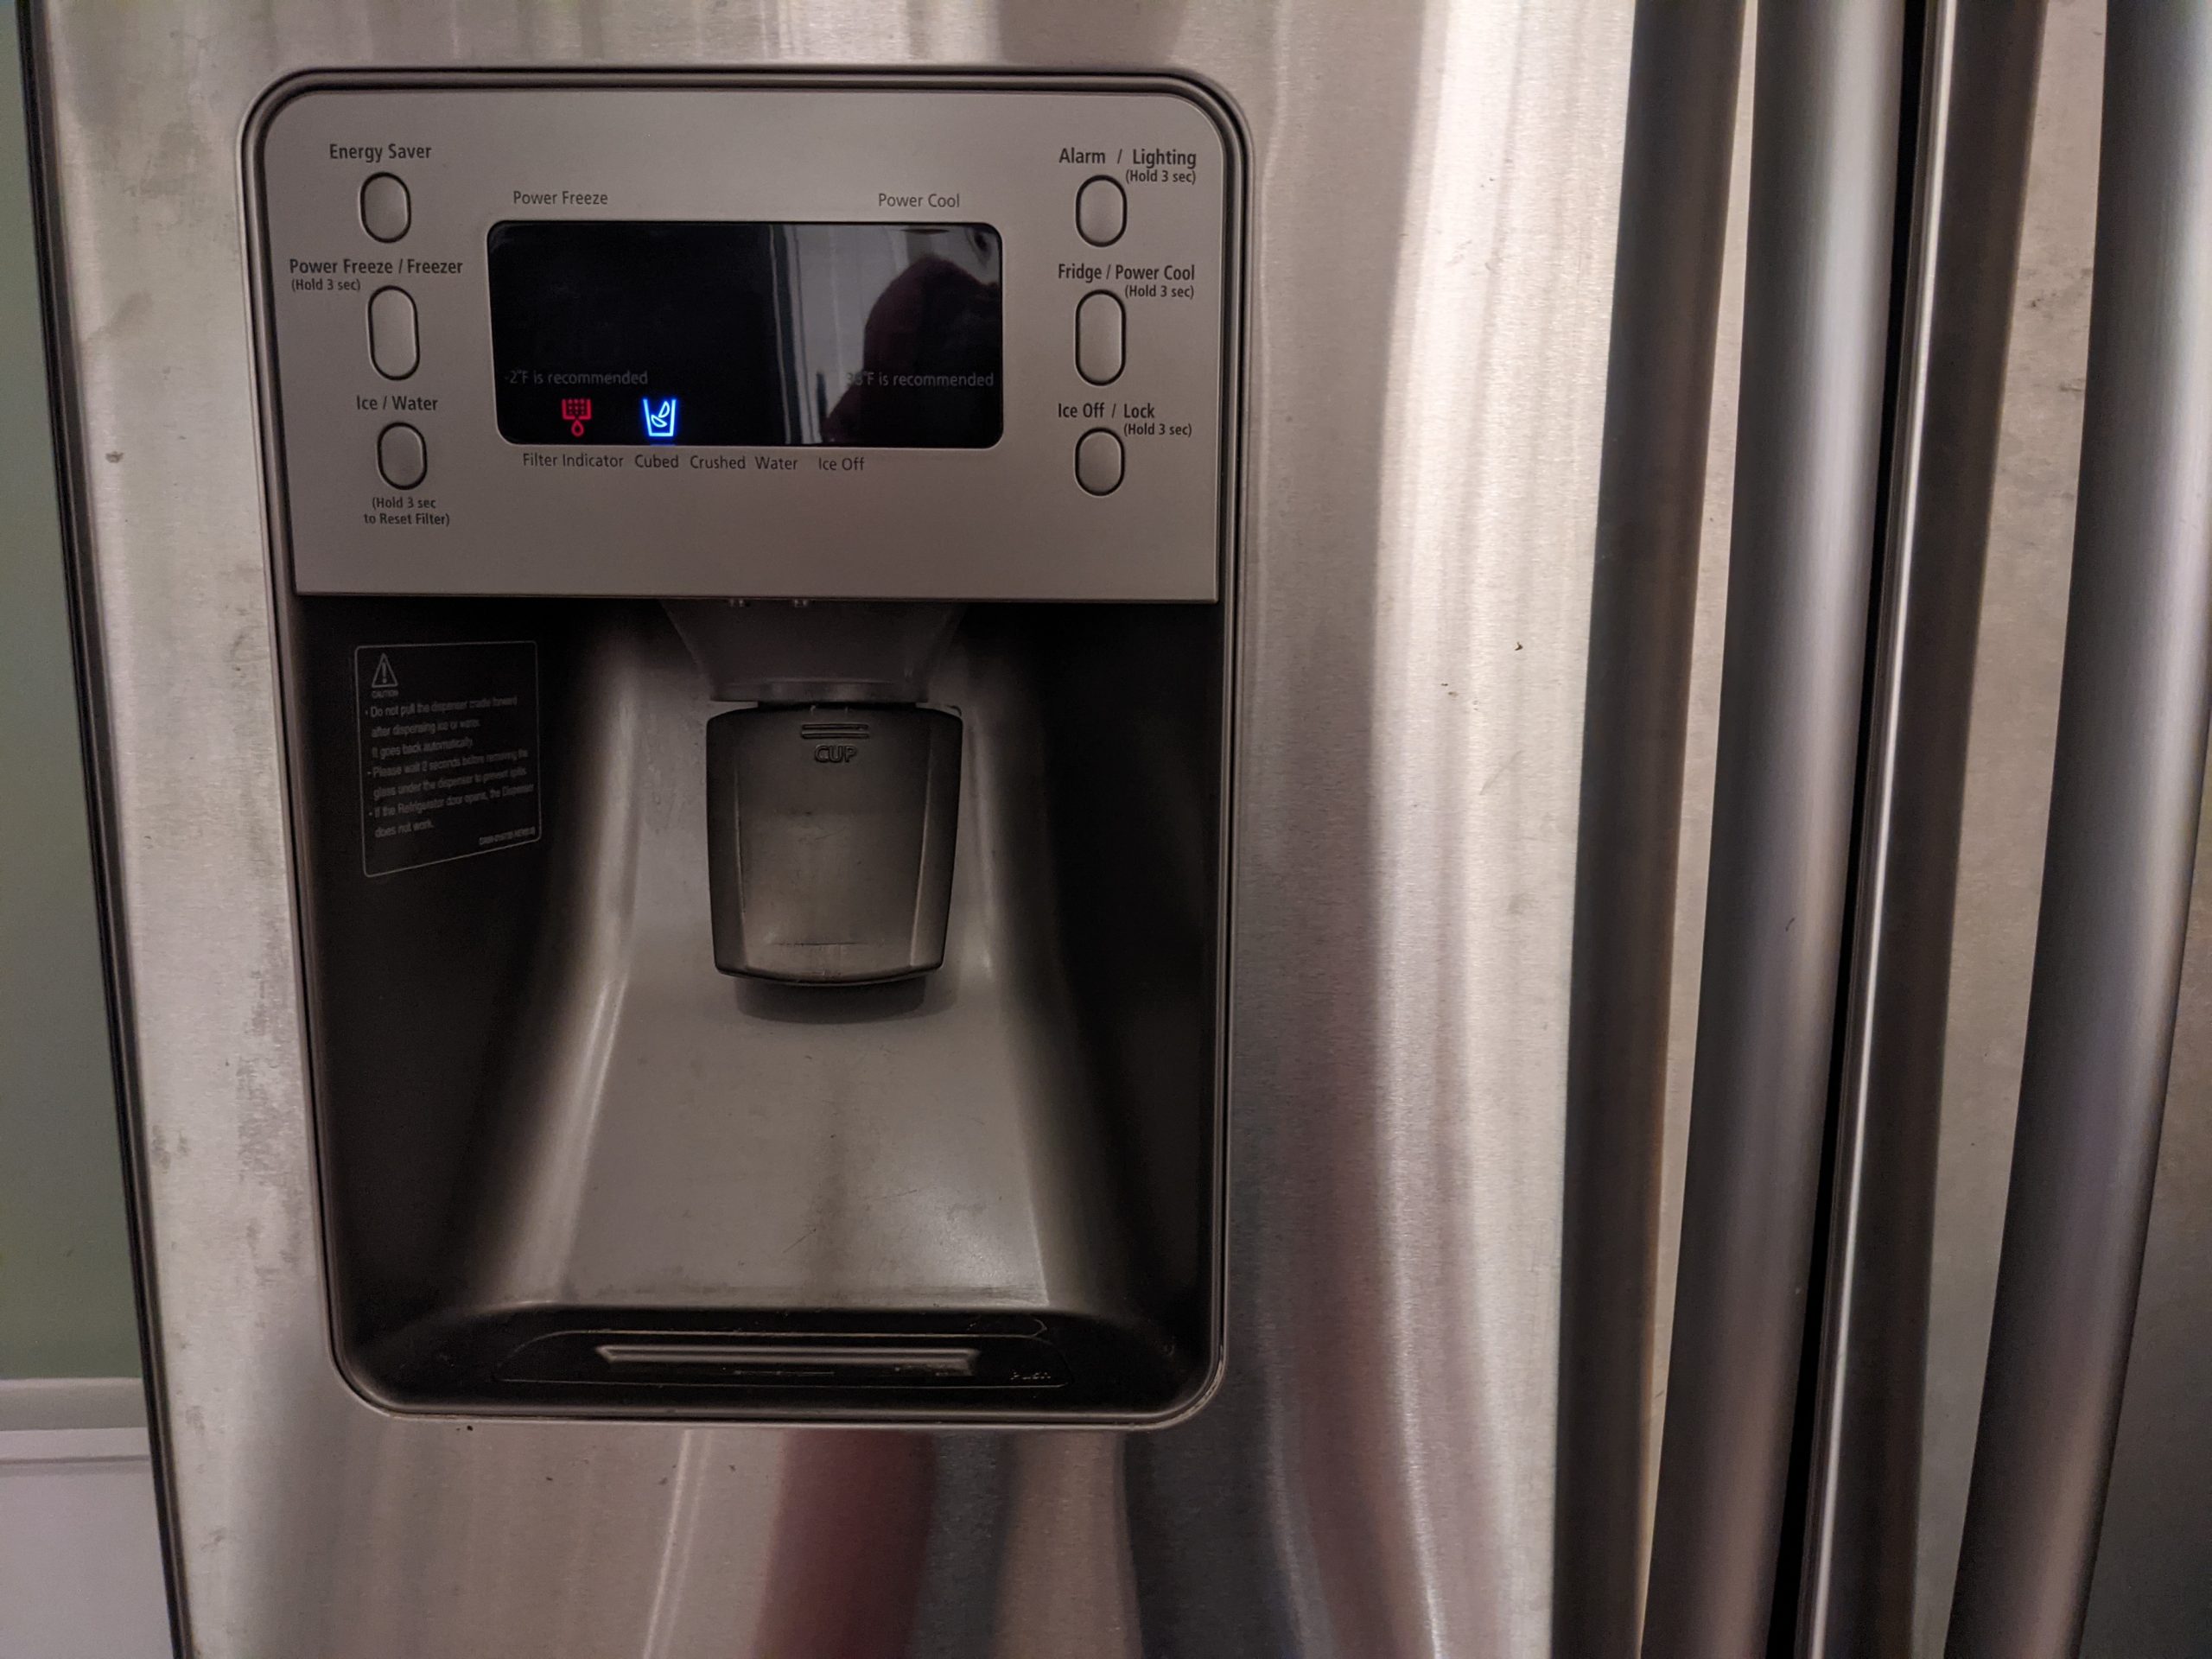
Cleaning your fridge water dispenser is a topic that hits very close to home. For me, it is something I’ve been dreading since buying the house. Let’s just say the previous owners did not take care of anything they left us.
The No-No’s
Firstly, let’s talk about things you shouldn’t do.
You definitely should not use any chemical that will poison you or erode your plastic or copper pipes. That actually really narrows down your choices.
You also should not force anything into any hole in your fridge. Trying to force a straw cleaning into the water dispenser could damage the tubing or other hardware.
Finally, you shouldn’t do anything you’re not comfortable with. You’ll be working with plumbing and potentially making a mess.
Disconnect the Water
The first step is to turn off the water where it connects with the wall and disconnect the tube running to your fridge. The valve should be labeled which direction is off.
Pick your Cleaner
In my non-expert opinion, as well as many people online, white vinegar is the best choice. It is nontoxic and gentle on piping. It also has the added benefit of smelling and tasting strongly so you know if you didn’t rinse well enough.
Flush with the Cleaner
Using the hose you disconnected, pour a decent amount of your cleaner into the fridge. My fridges tube is roughly ten feet long, so I struggle with this step. Ideally, you’ll hold the entire tube above the fridge to allow the cleaner to work its way down into the fridge. If that isn’t possible, like in my case, you’ll have to keep raising parts of the tube and work the cleaner down gradually.
Tip: A funnel, baster, or similar tool may help get the cleaner carefully into your tube. In my fridge, I used about 4 cups of vinegar.
Clean Surfaces and Inside the Dispenser
While you let all that vinegar or cleaner sit in your fridge, clean out the surfaces in and around the water dispenser. Wherever bacteria can build up, you need to clean.
Use a small straw brush or a pipe cleaner to gently clean out the inside of the water dispenser output tube. This is the primary area bacteria, dirt, and grime will build up, so it needs your help to loosen it.
Clean the Ice Tray
While you’re at it, clean out your ice tray. Try to get every surface with some light dish soap or vinegar. Make sure you rinse down each surface with a wet cloth as well to get rid of soapy residue.
Flush Your Water Dispenser
Now, flush your system. Run the water dispenser until it stops giving you vinegar or cleaner out of it. Then, hook the water back up and keep running it until your water is free of cleaner/vinegar.
Test Your Water
If you’ve used vinegar, you should be able to test your water by just sniffing it. Otherwise, take a taste and see how it is. Better yet? If not, you can repeat the process 1-2 more times. If it isn’t better in 3 tries, this method likely won’t solve your problem.
Replace Hoses as a Last Resort
Sometimes the problem is so bad that you need to replace the hoses. The hoses on the outside are relatively easy to replace. However, if your inside hoses are the problem, you have to take apart the entire fridge to get to them.
Replace Water Filter
You should be doing this regularly anyway, but this is a good opportunity to replace your water filter. If your fridge has a dispenser, it probably has a filter.
Your filter should be replaced every 3-6 months regularly anyway, depending on how much you use it. Regularly replacing this could help prevent bad tasting water before it happens.
Repeat at Least Yearly
You should repeat this process at least yearly to keep your system clean and healthy.


Leave a Reply