The anatomy of an outlet is something every homeowner should have a basic understanding of.
AS ALWAYS, PLEASE TURN OFF ELECTRICITY TO OUTLETS AT BREAKER PANEL BEFORE DOING ANY HOME WIRING!
Editor’s Note: Anytime we talk about electricity, we need to tell you that any electrical work on your house is dangerous. What follows in this article is for educational purposes only. Reading our articles will not make you a professional electrician. If you harm yourself doing electrical work, you should seek the medical services necessary.
Anatomy of an Outlet
Electrical outlets are the location electrical wiring from your home power grid allow for the connection to power consuming devices. You tend to have these at strategic points around your home. You may know these better as outlets, sockets, or plugs which are the common-use names for the electrical receptacle. This hub provides a safe barrier between people and Alternating Current. Additionally, it provides a standard connection to electrical devices.
The National Electrical Manufacturers Association (NEMA) standardized the size and shape of these hubs. They’re responsible for providing electrical standards across the United States. You will recognize their non-locking receptacle configuration 5-15R as the main outlet in homes across America. Today, we will examine the parts of this receptacle.
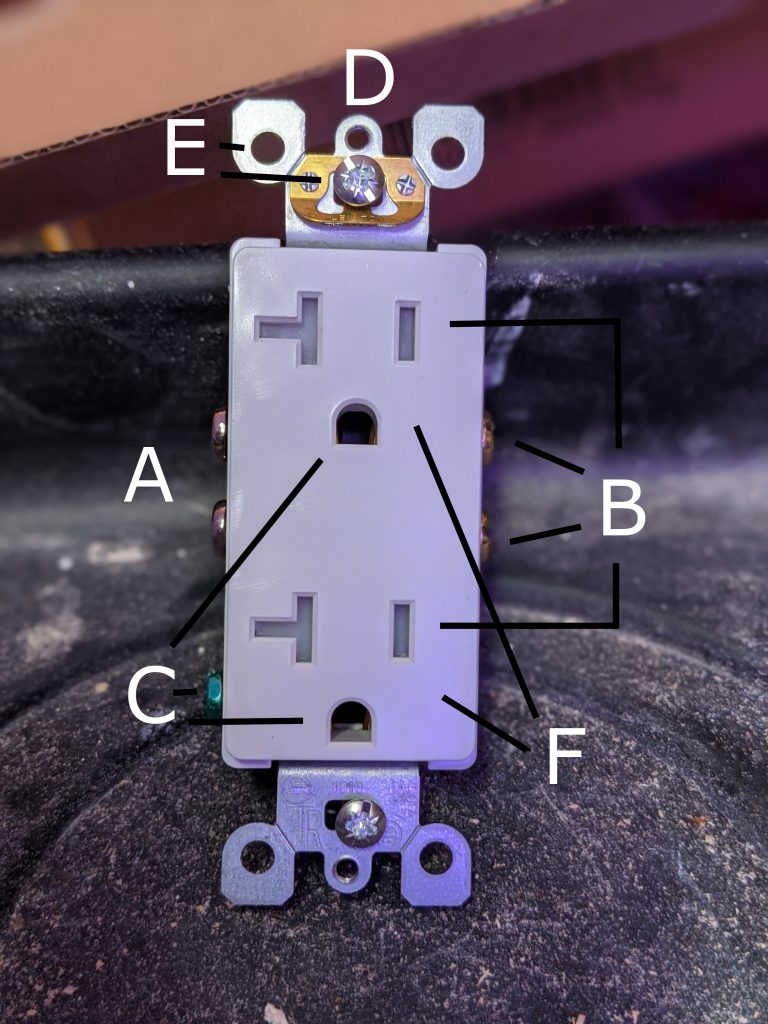
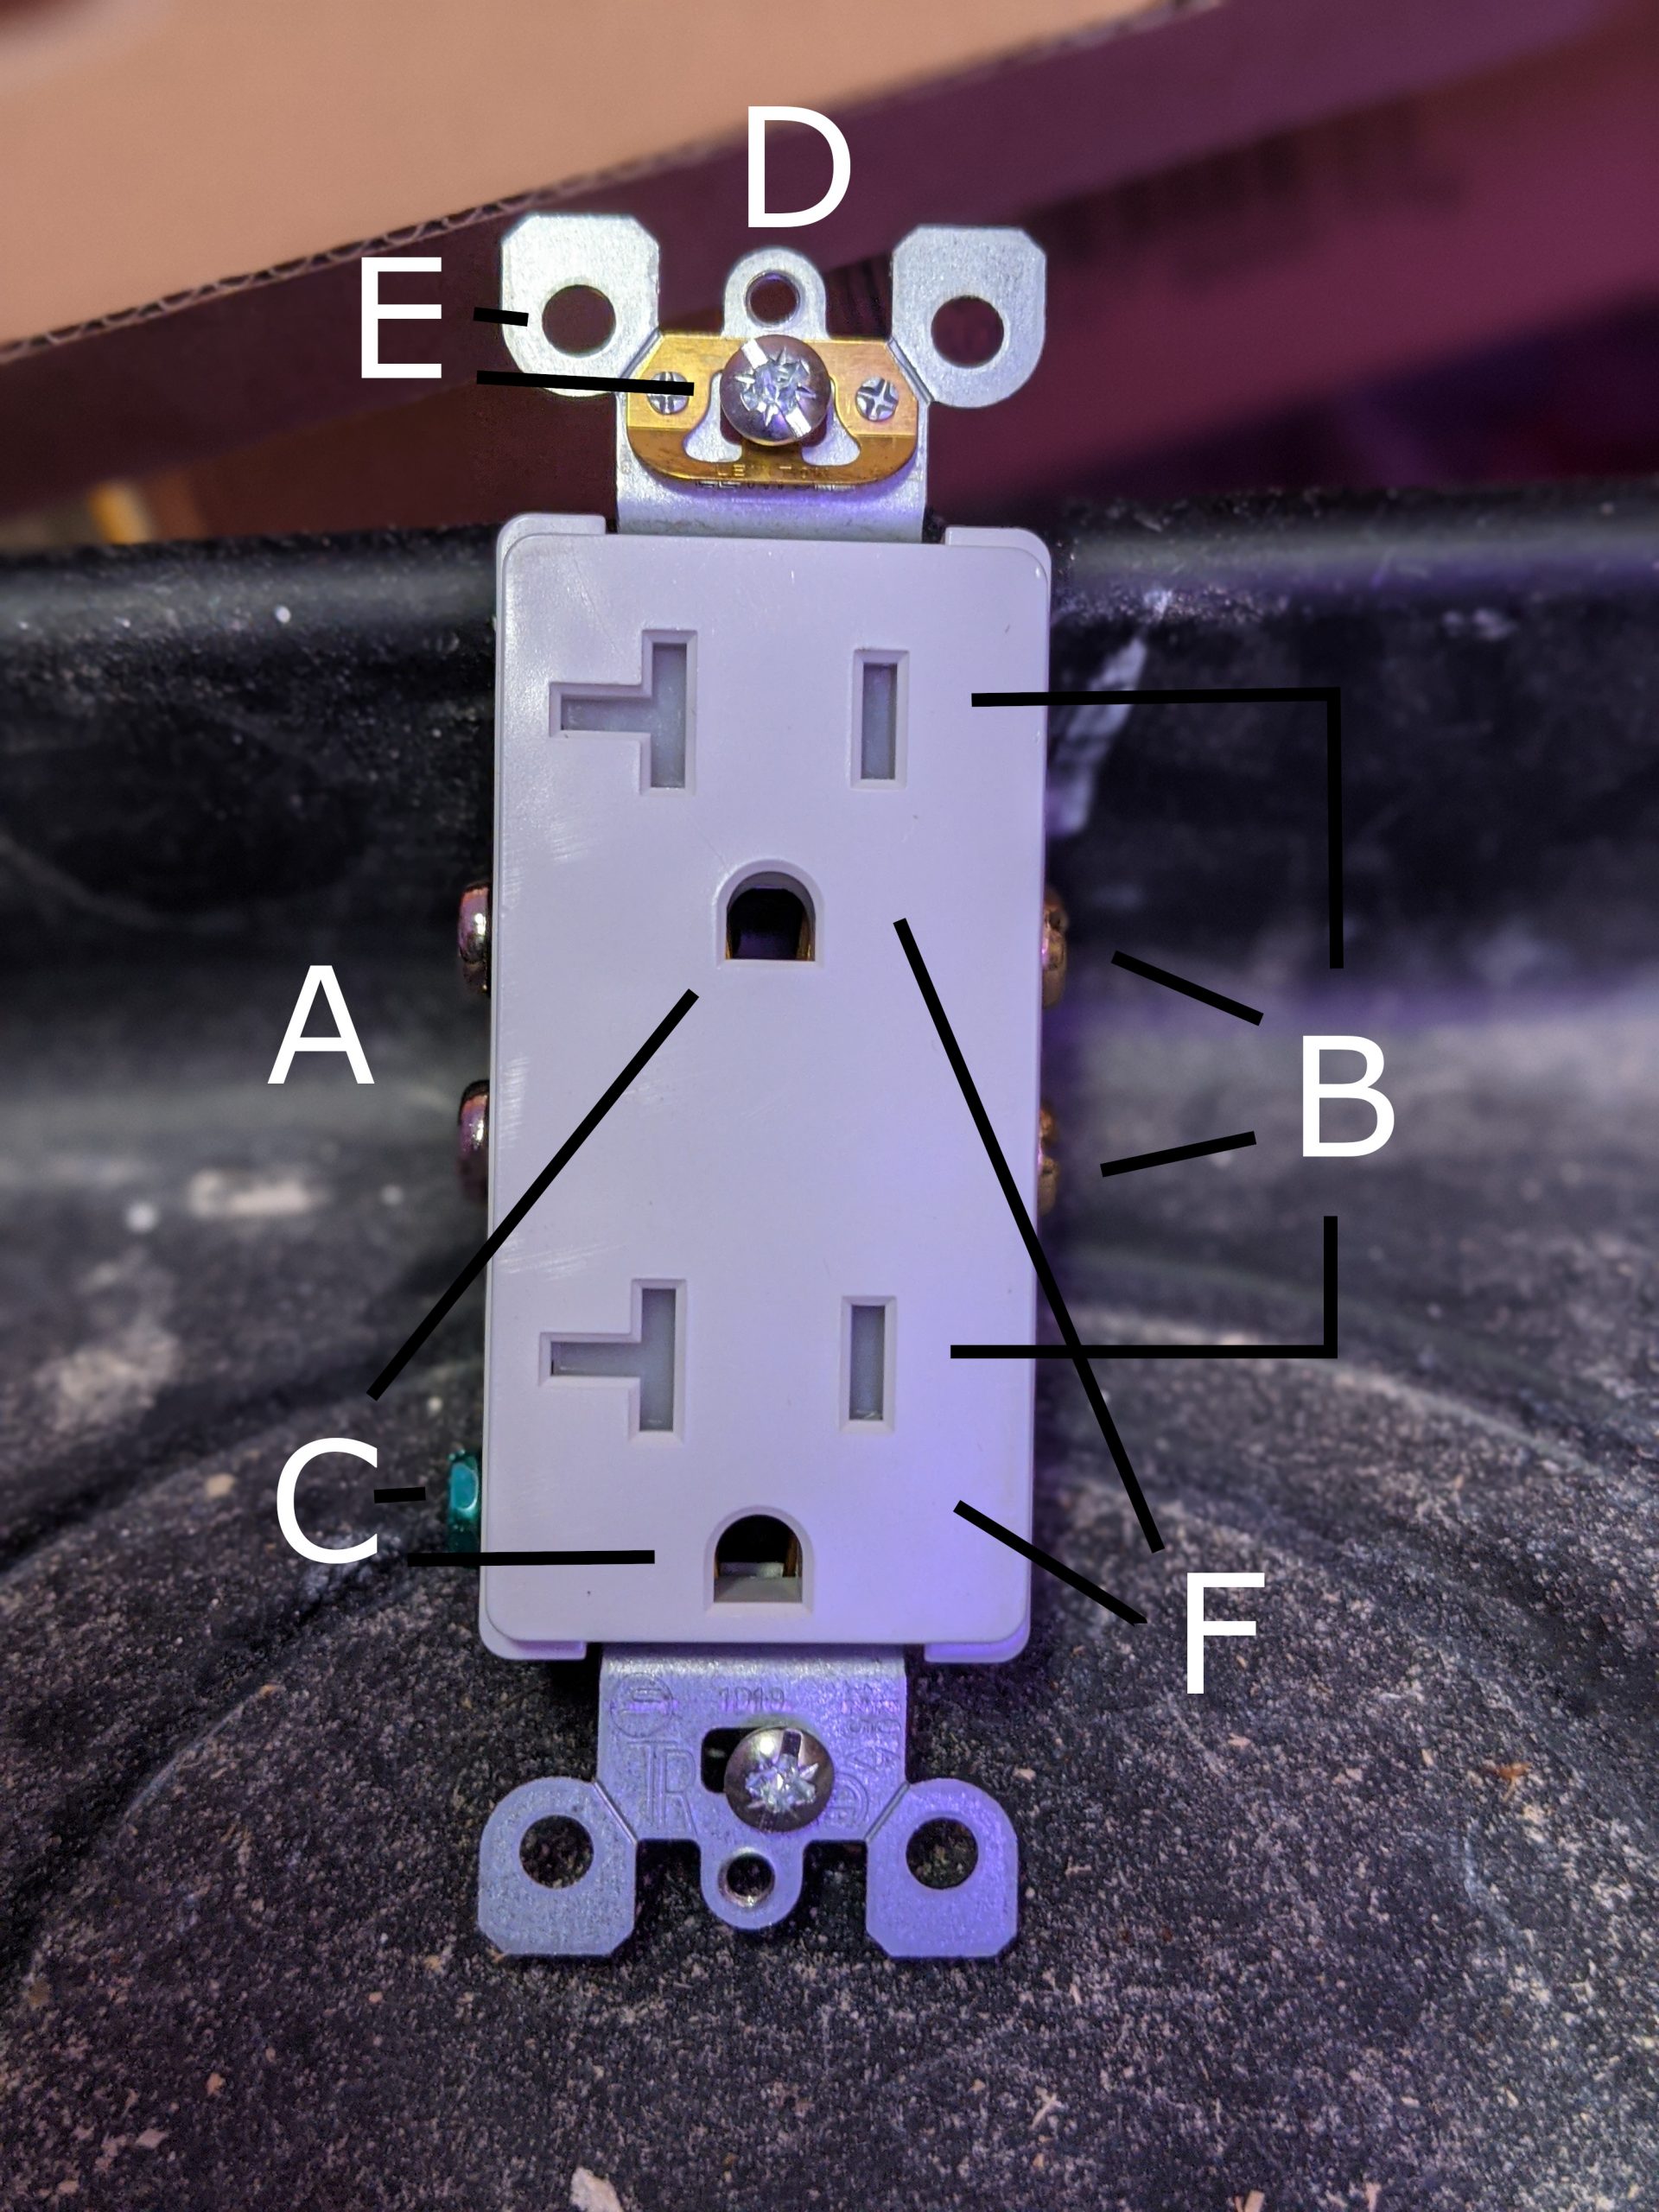
A NEMA 5-15 receptacle:

A – Neutral
Part A is two screws. They’re usually silver. They’re located on the side of the receptacle that has the larger blade plug holes. Additionally, a metal contact plate typically holds them together. Internally, these screws connect to the large blade holes in the plug receptacle. These screws connect to your neutral line in your home wiring. Typically, this wire is white. To connect the outlet to the neutral wire, you wrap the wire around the screws and tighten. You use the second screw if you’re using this outlet as a pass through. In other words, you can attach other outlets and switches to this outlet.
B – Live / Load
Part B is also two screws. They’re usually gold in color. These are your live/load wires. Therefore, they’re on the side of the receptacle with the smaller blade plug holes. Additionally, a metal contact plate typically connects the screws together. Internally, these screws connect to the small blade holes in the plug receptacle. The load or hot line in your home wiring is usually black. This hot line connects to one of the screws by wrapping the bare end of the wire around and tightening the screw. You can use the second screw for pass through when adding additional loads or switches.
C – Ground
This screw internally connects to the two half-round plug holes in the receptacle. This screw should be connected to the ground wire either in the outlet or run to the outlet. Your ground wires are usually green or bare copper wires. You connect them by wrapping the bare end of the wire around and tightening the screw.
D – Faceplate
This hole is used for connecting the faceplate of an outlet to the receptacle and for holding in foam outlet insulators on exterior wall outlets.
E – Mounting
These holes, tabs, and screws provide multiple ways to secure your receptacle to the multiple styles of outlet junction boxes in your home. This is what keeps the receptacle attached to the wall and secure from moving when electrical devices are plugged in.
Additionally, if you have an outlet that moves when you plug things in, this is where you start. Unfortunately, if tightening these mounting screws doesn’t fix the problem, you may have a more complicated issue.
F – Outlet Faces
These front faces have plug receptacles for NEMA 5-15P Polarized Straight Blade with half-round ground plugs.
The electrical receptacles in your home allow you to connect electrical devices that make our everyday functional and fun. Understanding the basics of the outlet and your home wiring can give you the foundation you need to replace or even upgrade broken hardware.
In conclusion, the anatomy of an outlet is not that complicated. At the end of the day, this knowledge can help you, the homeowner, better understand why things work the way they do.


Leave a Reply